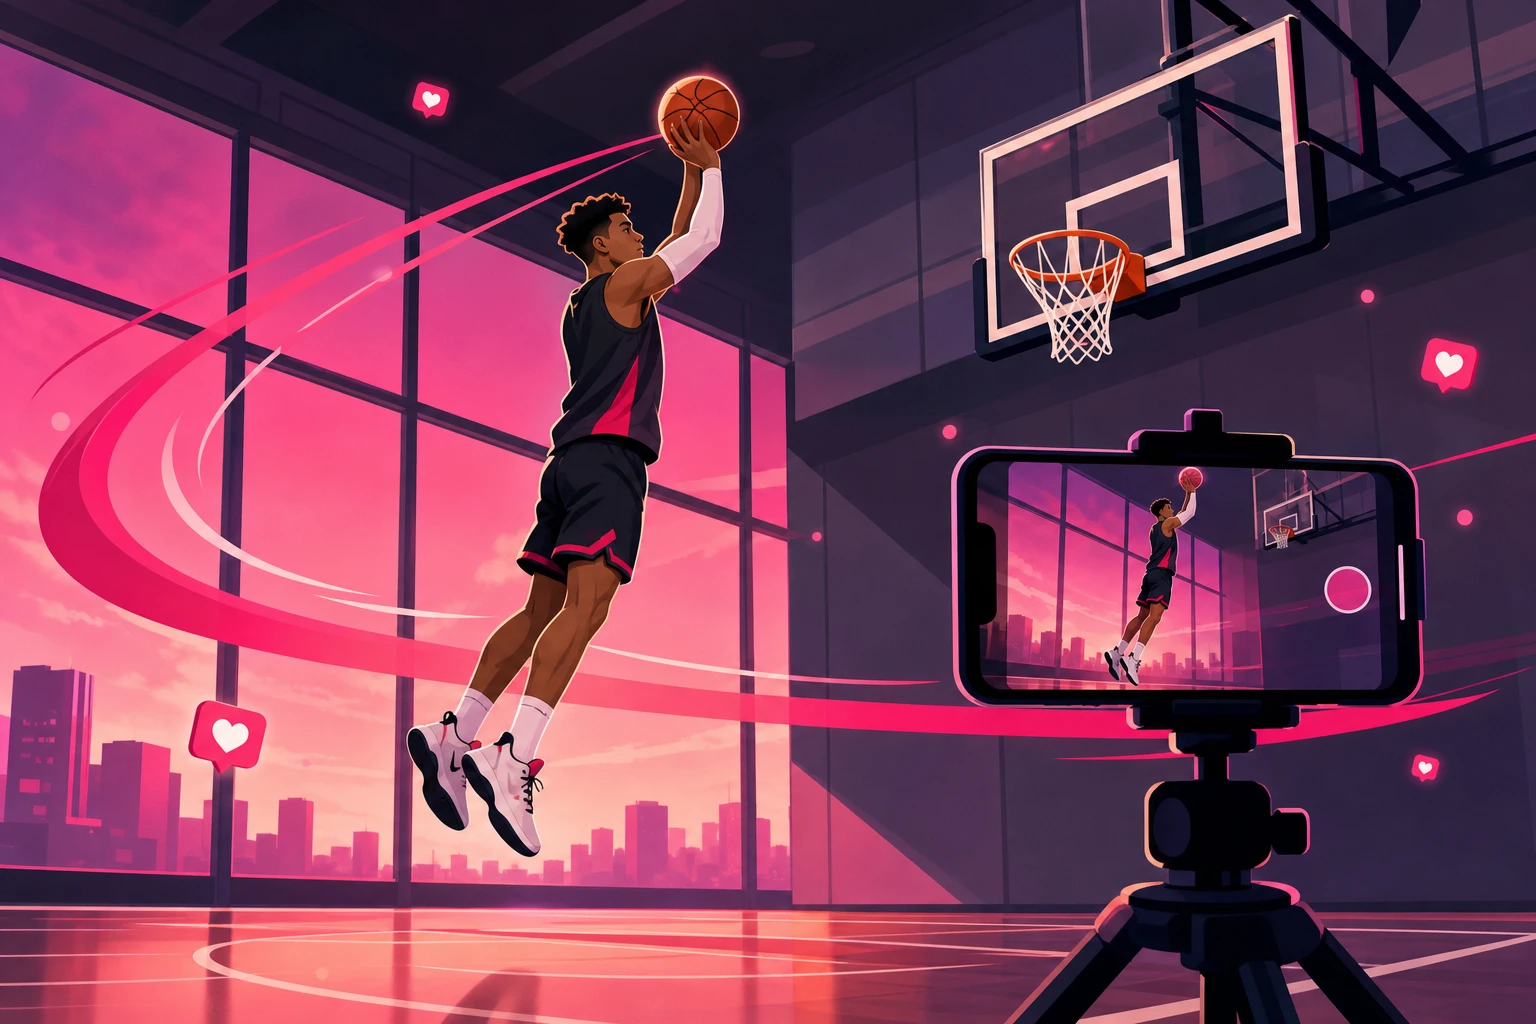
Here's the uncomfortable truth about athlete content: the training is the hard part, and you've already done it. This morning's practice had a week of TikTok posts sitting inside it - and almost all of it walked out of the gym unfilmed.
Not because you need a camera crew. Because nobody ever showed you the system: where to put the phone, which angles make sports footage actually hit, how to get your own game highlights, and how to film the game-day moments fans can't see from the stands.
This guide is that system, end to end: the under-$50 pocket studio, the five-capture training-day routine, the three angles that do 90% of the work, highlight and game footage without a videographer, game-day BTS that doesn't annoy your coach, and the edit that makes people watch to the end. It's the "how" that pairs with our complete TikTok guide for athletes (the strategy) and our 56-idea content vault (the what).
The honest summary:
- Raw beats polished in sports. A phone propped against a water bottle filming a real PR attempt outperforms a produced montage.
- Film while you train, not instead of training. Five captures per session cost about ninety seconds total.
- Ground level is the money angle. Low camera placement makes every jump, sprint, and lift look more explosive.
- When a clip pops, use selective amplification to push that proven video to more fans of your sport - filming gets it made, promotion decides how far it goes.
What's Inside
- 1. The Pocket Studio: Everything You Need Fits in a Gym Bag
- 2. The Five-Capture Training Day (Film While You Train)
- 3. The Three Angles That Make Sports Footage Hit
- 4. Filming Training: Solo Setups That Actually Work
- 5. Getting Your Highlights & Game Footage
- 6. Game-Day BTS: Filming the Parts Fans Can't See
- 7. Talking to the Camera Without Feeling Weird
- 8. Editing to the Payoff (Hooks, Cuts & Captions)
- 9. The Five Filming Mistakes That Kill Athlete Videos
- 10. When a Video Hits: What Filming Can't Do
- Frequently Asked Questions
1. The Pocket Studio: Everything You Need Fits in a Gym Bag
Start with what you don't need: a camera, a gimbal, a lighting kit, or an editing laptop. In most niches gear raises the ceiling; in the sports niche it often lowers it, because polish reads as production and production reads as an ad. Viewers open SportsTok to watch real work. Raw phone footage of a real PR attempt is the aesthetic.
The entire kit:
- Your phone. Anything from the last three or four years shoots better video than the cameras that filmed most sports documentaries a decade ago. Clean the lens on your shirt before filming - the single biggest quality upgrade available, and it's free.
- A flexible tripod or clamp mount ($15-25). The kind with bendable legs that wraps around a squat rack, a fence rail, a goal post, or a bench. This is the one purchase that matters, because it turns every rack and railing into a camera operator.
- Optional: a magnetic mount ($10-15). Sticks your phone to any metal surface - racks, poles, lockers, the plate tree. Faster than the tripod for quick mid-session captures.
- Already in your bag: a water bottle and a shoe. Genuinely. A phone propped against a bottle at floor level is the most-used camera setup in athlete content, and it costs nothing.
Total: under $50, no charger cables, no setup time. The goal is a kit so small you never decide whether to bring it - it just lives in the bag next to your tape and your headphones.
2. The Five-Capture Training Day (Film While You Train)
The biggest myth in athlete content is that filming competes with training - that content days steal practice days. The athletes who post daily aren't training less. They run a capture routine that costs about ninety seconds across an entire session, because the phone does the filming while they do the work.
Five captures, every session:
- The before shot (10 seconds). The empty gym, the loaded bar, the field at dawn, the taped wrists. Every transformation needs a "before," and this is it.
- The work clips (2-3 clips, 10 seconds each). Prop the phone, hit record, do the drill or the set. Don't perform for the camera - the whole value is that you aren't performing.
- The result clip. The made shot, the locked-out PR, the watch face showing the time. This is tomorrow's hook - the two seconds a video opens on.
- The human moment. The reaction, the frustration after a miss, the laugh with a teammate, the collapse on the mat. One genuine moment is worth ten clean reps.
- The story note (30 seconds). Before you leave, voice-memo what you worked on, what failed, what a coach said. That note becomes next week's storytime, scripted in your own words while it was still real.
Notice what's missing: nothing was staged, re-done, or added to the session. The filming attached itself to training that was already happening. Our athlete content ideas vault shows the 56 video patterns these five captures feed - one training day covers most of them.
3. The Three Angles That Make Sports Footage Hit
Same rep, same athlete, same phone - the angle decides whether it looks explosive or ordinary. Sports footage lives and dies on camera placement, and three setups do almost all of the work:
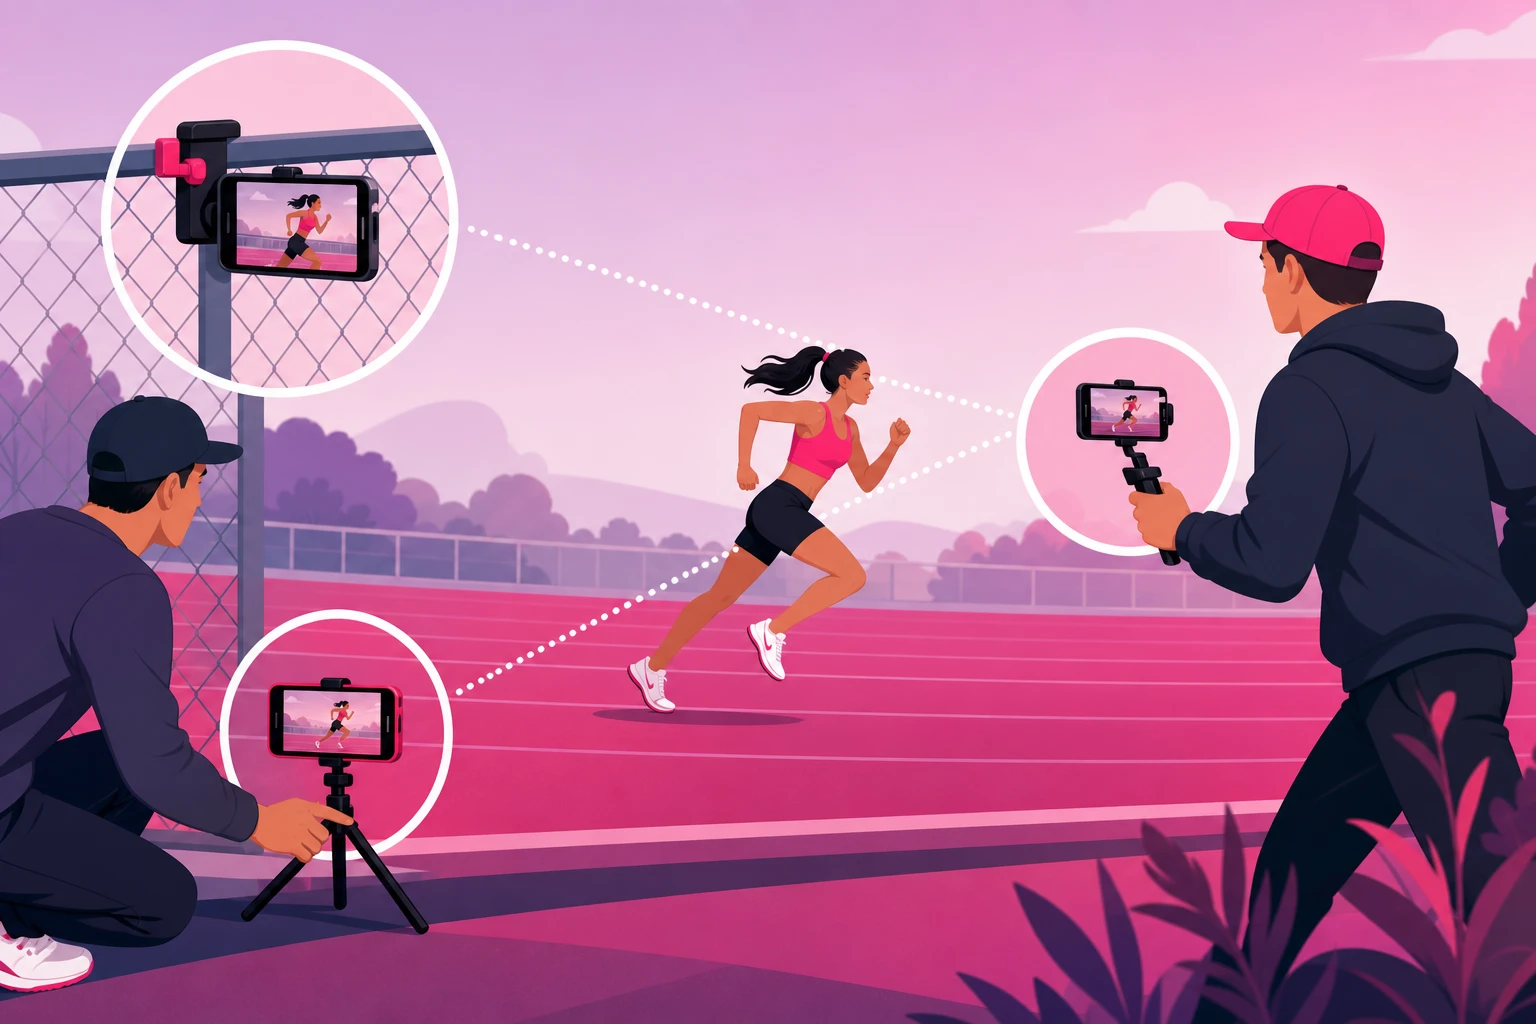
- Ground level: the explosion angle. Phone on the floor or a mini tripod, tilted slightly up. Everything filmed from down here looks bigger, faster, and higher - jumps gain inches, sprints gain speed, lifts gain drama. If you only remember one angle, it's this one. Eye-level footage is how practices look; ground-level footage is how they feel.
- Chest height, clamped: the full-rep angle. The flexible tripod wrapped around a fence, rack, or post at chest height, framed wide. This is your stable, repeatable setup for form checks, full plays, and drills - the angle coaches and recruiters actually want to see, and the base layer of every training post.
- The follow pan: the energy angle. A teammate, parent, or friend walks or pans with the motion - alongside a sprint, tracking a fast break, following the walk to the blocks. Motion in the camera adds energy static shots can't fake. No stabilizer needed: hold the phone with both hands, elbows tucked, and turn from the hips.
The discipline is choosing one deliberately instead of defaulting to wherever the phone happened to be. Before each capture, one question: is this clip about explosion, form, or energy? Place the phone accordingly and hit record. Dancers solved this filming problem years ago, and the dance filming guide goes deeper on framing a moving body - most of it transfers straight to sport.
4. Filming Training: Solo Setups That Actually Work
Most training happens alone, so the system has to work with zero camera operators. The answer is embarrassingly simple: prop the phone, record long, cut later.
- Record long, trim later. Start recording, do three or four sets, stop. Never run back and forth starting and stopping per rep - it wrecks the session rhythm, which is exactly what filming must not do. Storage is cheap; your focus isn't.
- Frame wider than feels right. Solo filming means nobody adjusts the shot when you drift. Set the frame a step wider than necessary so the action stays inside it, and crop in the edit if needed.
- Gym lighting: face the light, don't fight it. Position yourself so windows or overhead banks light the action from the front or side, never directly behind you - backlit footage turns you into a silhouette. Outdoors, early and late sun is flattering; harsh noon overhead is the worst light of the day.
- Use slow motion like a spice. 0.5x on the release, the takeoff, or the contact point sells mechanics beautifully. Whole videos in slow motion put people to sleep. Two seconds of slo-mo inside a real-time clip is the ratio that works.
- Steal the timelapse post. Phone in the corner on timelapse for the whole session: two hours becomes twenty seconds, and it films itself. The easiest post in the entire athlete playbook.
Lifters have pushed solo-filming further than any other group on the platform - the fitness creator guide covers their rack-mounted setups and form-content patterns, and strength athletes should treat it as required reading.
5. Getting Your Highlights & Game Footage
Here's where most athletes get stuck: you can't film yourself mid-game. The athletes with steady highlight content aren't lucky - they've set up one of three reliable pipelines:
- The stands setup. A phone on a tripod - or a parent, sibling, or teammate's parent - filming from an elevated, stable spot with the whole field or court in frame. Elevated beats courtside for highlights, because context makes plays readable. Set it up before warm-ups so it's never a mid-game scramble.
- The game film export. If your league or program records games on a game film platform, learn the export rules for your own clips - many athletes have a full season of highlights sitting in an account they only open when a coach tells them to. Check what your program allows before reposting.
- The broadcast or livestream clip. School and club streams are highlight gold when your program permits reuse. Ask first; programs are usually thrilled that athletes want to share footage, and asking once beats a takedown later.
Two technical rules for the stands: keep zoom at 2x or less (digital zoom past that turns your best play into pixel soup - move closer instead), and brace the phone or tripod against a railing so the footage doesn't shake every time the crowd stands up.
Then remember the framing rule from the pillar guide: a highlight dumped as a montage is wallpaper, but a highlight framed as a moment is a story. Open on the result, add the stakes in a caption ("last play of the game"), and let the clip breathe for ten seconds instead of cramming in nine plays.
6. Game-Day BTS: Filming the Parts Fans Can't See
Anyone in the building can film the game. Only you can film what it's like to be in it - and that access is the most underpriced content an athlete owns. Game-day BTS consistently out-converts highlights on follows, because it gives viewers the feeling of being on the inside.
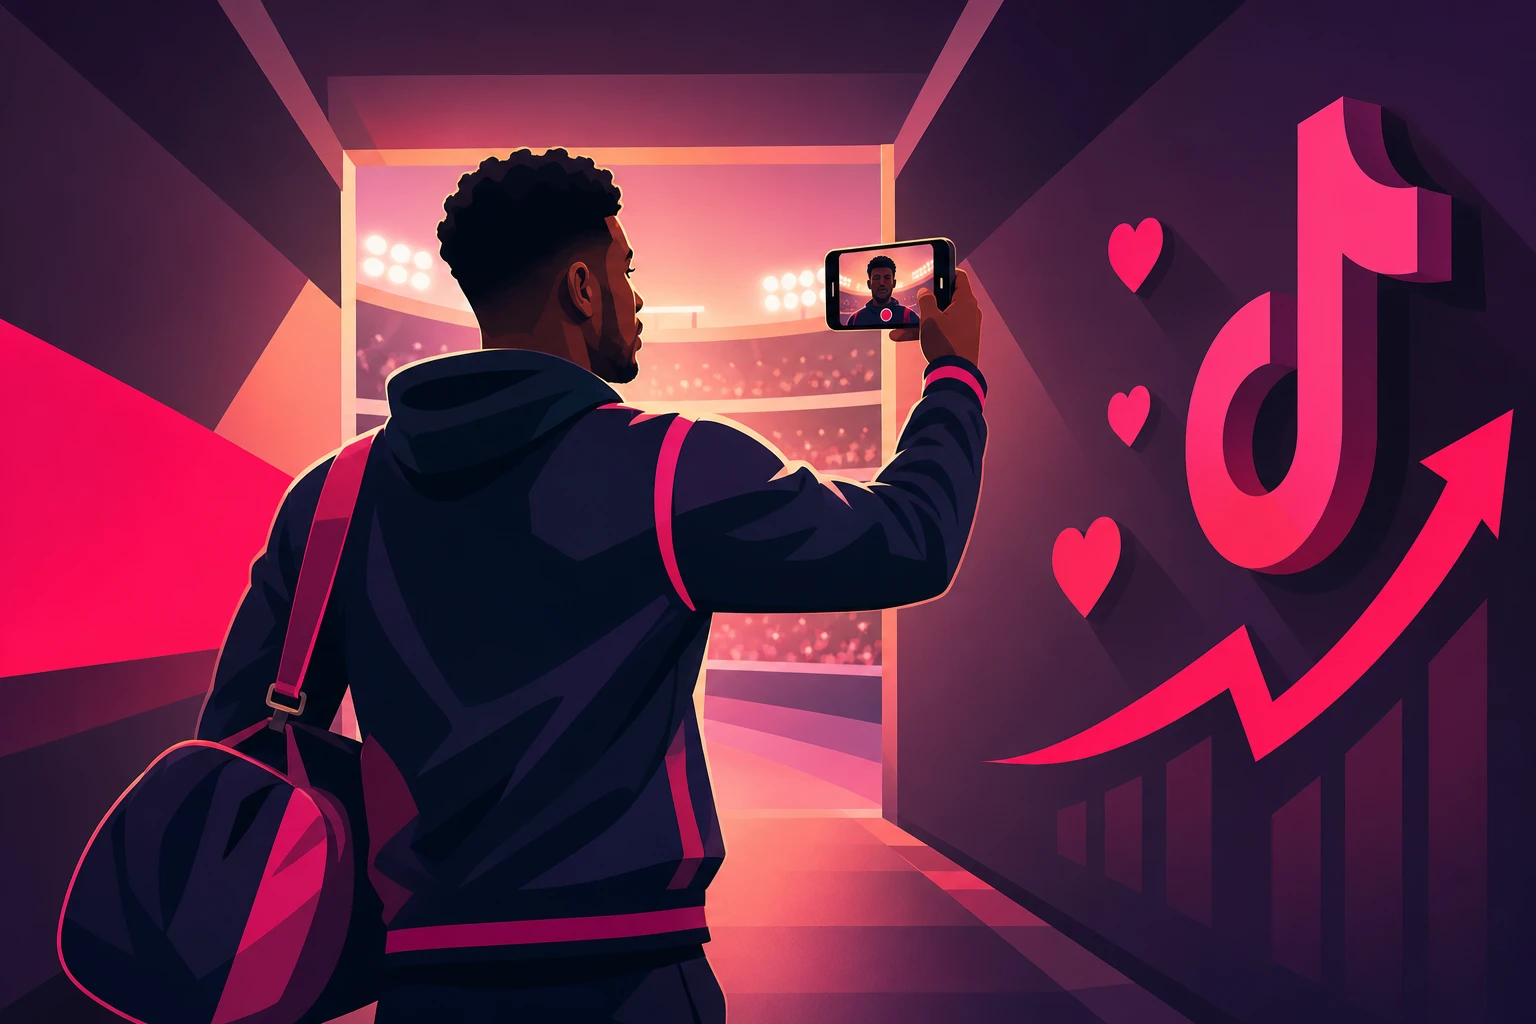
The game-day capture list, in order:
- The ride. Ten seconds of the bus, the playlist, the window. Zero effort, instant mood.
- The prep. Taping up, lacing cleats, the jersey on its hook. Ritual footage is hypnotic - film the hands, not just the face.
- The tunnel or walk-out. Arm's length selfie walking toward the field, or phone held low tracking your feet. Ten seconds of pure anticipation, and the single most repeatable BTS clip in sports.
- The postgame raw take. Parking lot, still in uniform, one take: how it went, what it felt like. Win or lose - the loss version builds more trust than ten wins.
- The quiet after. The empty locker room, the ice bath, the drive-thru. The comedown is the part nobody films, which is exactly why it stands out.
Each clip is ten seconds, filmed at arm's length or propped - no setup, no crew. Strung together they become the game-day POV, the most reliable recurring format an athlete has: you get a new episode every single game.
The permission check, every time:
Ask teammates before they appear in footage - especially in locker rooms, where the default answer should be "film somewhere else." Know your team's rules on facilities, uniforms, and logos, and if you're a college athlete, your school's NIL and social media policies too. None of this limits you much in practice: the tunnel, the bus, your own prep, and the parking lot take are all yours. Asking first is always cheaper than deleting a viral video later.
7. Talking to the Camera Without Feeling Weird
Sooner or later the format demands your voice: storytimes, skill breakdowns, postgame takes. And most athletes who are completely composed under a game-winning shot go stiff the moment they talk to a lens. The fix isn't practice - it's three mechanical changes:
- Talk to one person, not an audience. Picture the younger teammate who actually asks you these questions, and answer them - same pace, same words. Presenting is what reads as awkward; explaining never does.
- Film at arm's length, walking. Walking-and-talking burns nervous energy and looks native to the platform. The static seated to-camera setup is the hardest version - don't start there.
- Use your story notes as scripts. That 30-second voice memo from capture five already contains what you'd say and how you'd say it. Listen back once, then film one take. The slightly rough version reads as more real than the polished one - in sports content, effortful polish actively costs you trust.
8. Editing to the Payoff (Hooks, Cuts & Captions)
Filming decides what you have; editing decides whether anyone watches it. The entire edit philosophy fits in one line: put the payoff first, cut everything dead, caption everything.
- Open on the result. The make, the PR, the reaction - first two seconds, before any buildup. Watch-through rate is the dominant ranking signal, and the open decides it. The TikTok algorithm guide breaks down why the first second outweighs everything after it.
- 20-40 seconds, nothing dead. Trim the walk to the rack, the chalk-up, the reset between reps. Every dead second is an exit ramp. If a video wants three minutes, it's usually three videos.
- Caption every video. Most viewers scroll on mute, so the on-screen line does the hook's work: "last play of the game," "day 34 of the comeback," "4 months post-surgery." Auto-caption the speech in TikTok or CapCut, then fix the errors by hand - especially numbers and names.
- End on the completed moment. The made shot, the final rep, the sentence finishing - then hard cut. No outro, no "follow for more." Videos that end exactly at the payoff get replayed, and replays compound reach.
- Tag your sport, position, and city. In the caption, every time. Local fans, brands, and collectives find athletes through search - make yourself findable.
9. The Five Filming Mistakes That Kill Athlete Videos
- Filming horizontal. TikTok is vertical. Horizontal game footage cropped to vertical loses the play - if the stands setup is yours to control, film vertical or film wide 4K so the vertical crop still holds up.
- Saving filming for "content days." Staged content days produce stiff footage and die within a month. The five-capture system exists so filming never becomes a separate job.
- The dirty lens. A gym-bag phone has a smudged lens by default, and smudge is why footage looks foggy. Shirt-wipe before every capture. Free, and it out-upgrades any gear purchase on this page.
- Zooming instead of moving. Digital zoom past 2x destroys the footage. Move the phone closer, or crop slightly in the edit - never zoom from the bleachers and hope.
- Deleting the misses. The failed PR, the dropped pass, the fall - that footage is the "before" of every comeback arc and the most human content you own. The montage of makes is forgettable; the miss-then-make is a story.
10. When a Video Hits: What Filming Can't Do
Run this system for a few weeks and the pattern appears: most clips do fine, and then one - a tunnel walk, a PR with a real reaction, a storytime from a voice note - dramatically outruns the rest. Higher completion, saves stacking up, profile visits spiking, follows climbing.
That's the moment filming hands off to distribution. A proven video has done the hard part - it's demonstrated that strangers watch it to the end and follow because of it. What it can't do on its own is choose who sees it next. For athletes the stakes on that handoff are unusually high, because in the NIL era every additional engaged follower literally moves the number brands and collectives quote against your name - and interest peaks predictably around your season and recruiting windows.
That's the model behind our TikTok promotion service: selective amplification of the videos that already earned it, pushed to fans of your sport in your market, timed to the windows when attention on you is naturally highest. Not boosting every upload - fueling the proven ones. For the mechanics of promoting through TikTok's native format, see the Spark Ads guide and the complete TikTok advertising guide.
Frequently Asked Questions
What equipment do athletes need to film TikTok content?
A phone from the last few years, a small flexible tripod or clamp mount ($15-25), and optionally a magnetic mount for metal surfaces - under $50 total, and it all fits in a gym bag. Skip cameras, gimbals, and lighting kits. In the sports niche, raw phone footage of real training reads as authentic and consistently outperforms polished production, because viewers are there for the work, not the cinematography.
How do athletes film themselves training alone?
Prop the phone and let it run. A flexible tripod wraps around a squat rack, a fence clamp holds chest height at the track, a magnetic mount sticks to any rack or pole, and a water bottle or shoe props a phone in ten seconds. Set the phone wide, do the work, and trim the clip later - recording long and cutting beats repeatedly starting and stopping. Ground level is the one angle to remember: it makes every jump, sprint, and lift look more explosive.
How do athletes get their game highlights for TikTok?
Three reliable sources: a phone on a tripod (or a parent or teammate) filming from an elevated, stable spot in the stands, exports of your own clips from your league's game film platform where the rules allow it, and broadcast or livestream footage where your program permits reuse. Set the recording up before the game starts, clip your plays afterward, and keep phone zoom at 2x or less - digital zoom past that turns highlights into pixel soup.
Can athletes film in the locker room or at team facilities?
Only after checking two things: your teammates and your team's rules. Ask before filming anyone, especially in locker rooms, and get a feel for what your coach and program allow around facilities, uniforms, and logos - college athletes should also know their school's NIL and social media policies. Most game-day BTS (the bus, the tunnel, taping up, the walk out) is easy to film without ever pointing a camera somewhere it shouldn't be, and asking first is always cheaper than deleting a viral video later.
How long should athlete TikTok videos be?
20-40 seconds for most training and game-day clips, with the payoff - the make, the PR, the reaction - in the first two seconds. Completion rate is the dominant ranking signal, and short videos that people finish outperform long videos that people abandon. Skill breakdowns and storytimes can run 45-90 seconds when every second earns its place. If a video needs three minutes, it's usually three videos.
Already filmed something that's outperforming everything else?
Filming gets the video made - distribution decides your following. Viryze amplifies the clips that have already proved themselves, putting your best video in front of thousands more fans of your sport in your market, so every new follower adds to the number your next NIL or sponsorship deal is priced against.
Amplify your best athlete videoRelated Reading
- TikTok for Athletes: The Complete 2026 Guide - the full strategy this filming system plugs into.
- Athlete TikTok Content Ideas: 50+ Video Concepts - the vault of ideas these captures feed.
- The Complete TikTok Algorithm Guide - why the first two seconds of your edit decide everything.
- TikTok for Fitness Creators - the deepest solo-filming playbook on the platform, built by lifters.
- How to Film Dance Videos for TikTok - framing a body in motion, from the niche that mastered it.

Head of Creator Success at Viryze
TikTok growth strategist helping creators reach their first 100K followers through data-driven promotion strategies.