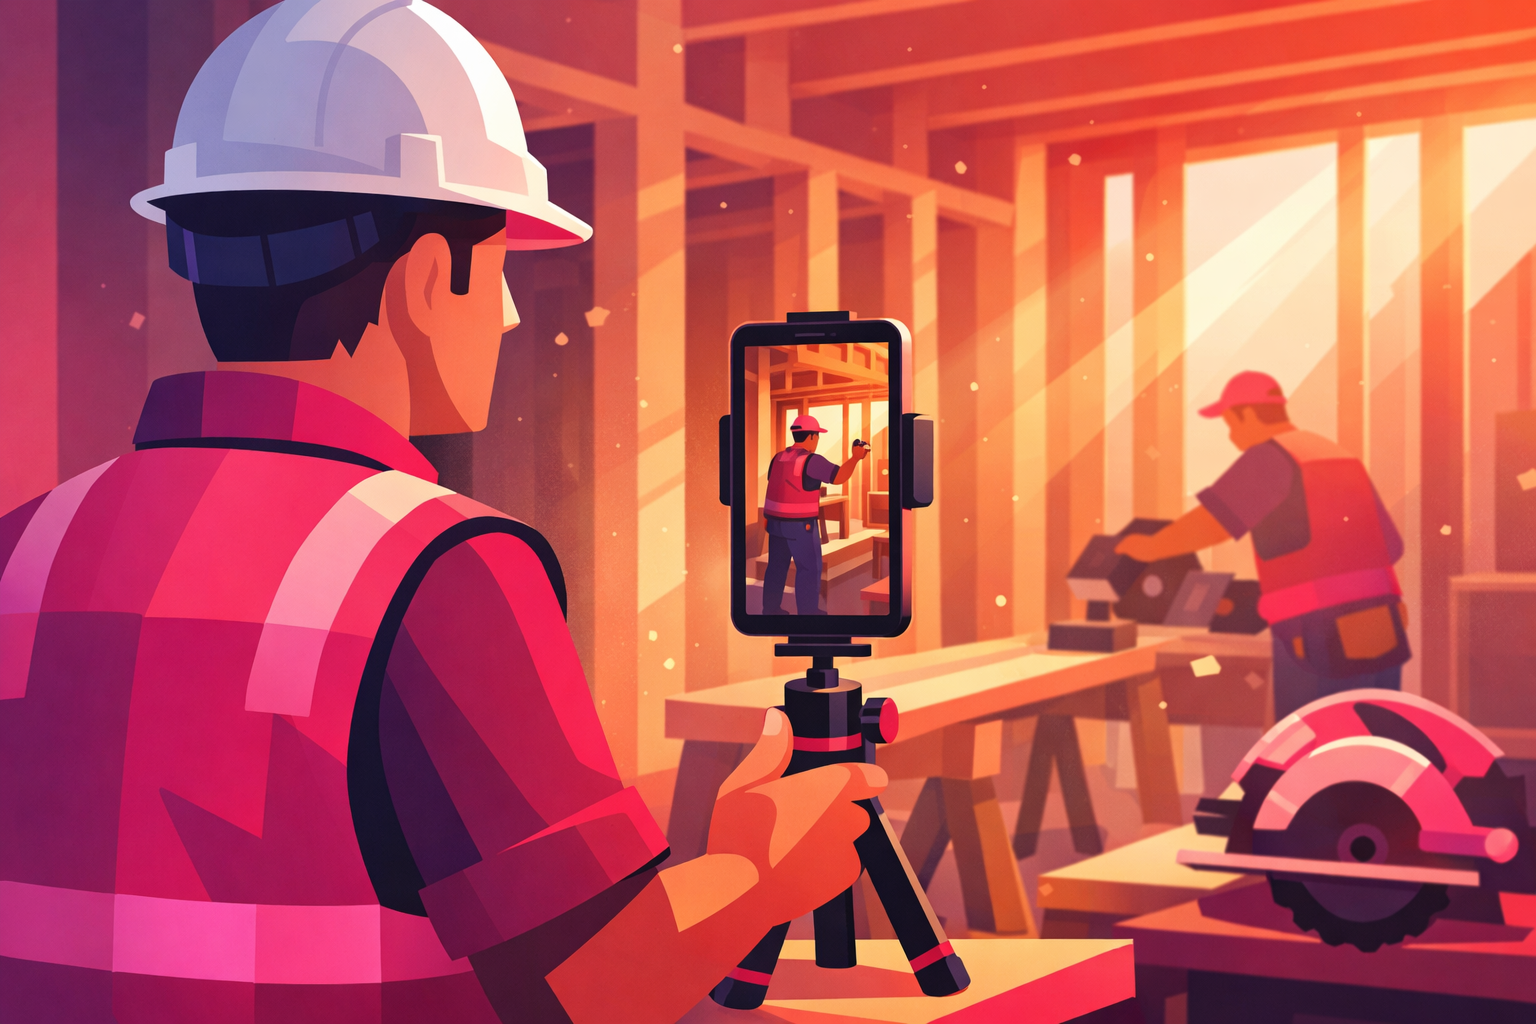
You filmed the kitchen you just gutted and rebuilt - a transformation that made the homeowner tear up in person - and on your phone it looks like a dark, shaky nothing. Same room. Same work. Somehow the video undersells the best project you've done all year, so it never gets posted.
Here's the fix nobody tells tradespeople: the gap between your footage and the contractor with 100K followers isn't the camera, the editing software, or talent. It's about five repeatable habits - where you stand, when you press record, and how you protect a phone from drywall dust. Learn them once and every job you run starts producing footage that actually looks like the work.
This guide covers the whole system: the $60 rig that survives a job site, the vertical framing rules that make rooms look as big as they are, the Anchor Shot Method for before/afters that hit, timelapse settings that hold viewers to the end, and the 10-minutes-a-day schedule that gets it all filmed without slowing the crew down. If you're still deciding what to film, start with our 50+ contractor content ideas - this article is how you capture them.
The honest summary:
- Your phone is enough. Every viral trade format was invented on a phone camera - gear is not what's stopping you.
- Same spot, every time. Before/after drama comes from filming both clips from one taped mark, not from fancy angles.
- Voiceover beats live audio. Record 30 seconds in your quiet truck instead of fighting the compressor.
- Ten minutes a day. One anchor clip, one process clip, and the surprise when it happens - that's the whole filming job.
What's Inside
- 1. Your Phone Is Enough (The Job Site Does the Heavy Lifting)
- 2. The $60 Job-Site Rig: Dust-Proof, Drop-Proof, Crew-Proof
- 3. Framing for Vertical: Making Rooms Look Like Rooms
- 4. The Anchor Shot Method: Before & Afters That Hit
- 5. Timelapses That Get Watched to the End
- 6. Filming the Reveal (and the Walkthrough That Sells It)
- 7. Audio on a Loud Site: Why Voiceover Wins
- 8. Editing on Your Phone in 15 Minutes
- 9. The 10-Minute-a-Day Filming Schedule
- 10. When a Video Takes Off: Turning Footage Into Booked Jobs
- Frequently Asked Questions
1. Your Phone Is Enough (The Job Site Does the Heavy Lifting)
Before we touch a single technique, kill the objection that stops most tradespeople from ever pressing record: "I don't have the gear." You do. Every phone made in the last five years shoots sharper video than the cameras that built early HGTV. The demo clips, timelapses, and reveals filling the For You page right now were shot on the same phone that's in your pocket.
Here's the deal: on TikTok, subject beats production. A crisp, color-graded clip of nothing loses to a slightly grainy clip of a ceiling collapsing into a dumpster every single time. Trades start with the most watchable raw material on the platform - transformation, process, and surprise - which our complete TikTok for contractors guide breaks down in depth. Your job isn't to make cinema. It's to not fumble footage the job site hands you for free.
From our experience analyzing creator campaigns across the trades, the accounts that grow fastest aren't the ones with the best equipment - they're the ones that capture consistently. A remodeler posting four honest phone clips a week outgrows a competitor posting one polished, gimbal-stabilized video a month, and it isn't close.
2. The $60 Job-Site Rig: Dust-Proof, Drop-Proof, Crew-Proof
A job site is the most hostile filming environment on TikTok - dust, paint overspray, vibration, and forty ways for a phone to hit concrete. The fix isn't expensive gear. It's about $60 of protection and mounting that lives in your tool bag:
- A rugged case (or a freezer bag) - $0-25. For demo days and sanding, a clear zip-top freezer bag pulled tight against the lens is genuinely the pro move - the camera shoots through it with barely any quality loss, and you throw the dust away with the bag.
- A spring clamp phone mount - $15-20. The single most useful piece of gear in trade content. It grips ladder rails, studs, door casings, sawhorses, and scaffolding - which means your "tripod" is already standing wherever you're working.
- A small flexible tripod - $25. For floor-level anchor shots and any spot a clamp can't grab. Wrap the legs around a railing when you need height.
- A battery pack you already own - $0. Timelapses eat battery. The same pack that charges your impact driver radio keeps the phone alive all day.
- Painter's tape - already on the truck. Not for the phone - for the floor. You'll use it to mark your anchor spot in Section 4, and it might be the highest-ROI "equipment" on this list.
Two habits matter more than any purchase. First: wipe the lens before every clip. A film of drywall dust is the number-one reason job-site footage looks foggy and cheap, and nobody notices until they're home. Second: mount the phone above chest height and outside the swing path of tools and material. High angles survive; low angles get kicked.
3. Framing for Vertical: Making Rooms Look Like Rooms
TikTok is a 9:16 vertical frame, and rooms are horizontal. That mismatch is why your finished kitchen looks cramped on camera. You can't change the frame - but you can work it:
- Shoot from corners, not walls. A corner position puts two walls in frame and gives the vertical shot depth. Flat-on wall shots make even big rooms read like closets.
- Get low for scale, high for layout. Knee height makes ceilings soar and spaces feel dramatic - use it for reveals. Head height or above shows the floor plan - use it for befores and process shots.
- Move slow, then cut fast. Pan at half the speed that feels natural while filming; you can always speed it up in the edit, but shaky fast pans are unusable. Speed comes from cuts, not camera movement.
- Fill the frame with the work. For process clips, get close enough that the trowel, the pipe, or the paint line fills most of the screen. Wide shots of a person doing something small read as boring; tight shots of hands doing skilled work read as satisfying.
- Lock exposure on the subject. Tap and hold on the work area to lock focus and exposure before recording. Otherwise the camera hunts every time someone walks past a window, and the clip looks amateur.
One more rule that separates trade accounts that grow from ones that stall: film everything vertical, always. A horizontal clip cropped to vertical loses half its resolution and shows it. Commit to 9:16 at the moment of capture and every clip stays usable.
4. The Anchor Shot Method: Before & Afters That Hit
Before/after transformations are the highest-reach format in the trades - and most contractors film them wrong. They shoot the before from the doorway on day one and the after from the window three weeks later, and the cut lands soft because the viewer's brain has to re-orient instead of registering the change.
The fix is what we call The Anchor Shot Method™, and it costs one piece of tape:
- Day one, before anything moves: pick the spot with the widest view of the space - usually a corner - and stick a piece of painter's tape on the floor. That's your anchor mark for the whole project.
- Film the before: stand on the mark and shoot a slow 10-second vertical clip - either locked-off or one gentle pan, left to right. Note your phone height (chest height works) and the direction you started facing.
- Repeat from the mark at every milestone: after demo, after rough-in, after drywall, after paint. Ten seconds each, same height, same movement. The tape survives under a dust sheet just fine.
- Film the after from the same mark - same movement, and ideally at the same time of day so the light matches.
When you cut these clips together, the frame holds still while the room transforms inside it - and that's the effect that makes viewers rewatch. It also hands you a second video for free: the milestone clips assembled in sequence become a multi-part "renovation in 30 seconds" edit, the format behind some of the biggest trade accounts on the platform. Videos built this way consistently post completion rates well above the level the TikTok algorithm treats as a strong ranking signal, because the payoff is visible from the first frame.
5. Timelapses That Get Watched to the End

A timelapse is the easiest high-performing clip in your arsenal because it films itself while you work. The formula:
- Mount high, frame wide. Clamp the phone to a ladder rail, door header, or shelf bracket so the whole work zone is in frame. Height keeps it out of the action and gives the compression room to breathe.
- Use the built-in timelapse mode and a battery pack. Your camera app handles the interval math automatically, compressing hours into a clip that plays back in seconds.
- Never touch it once it starts. The satisfying quality of a timelapse comes entirely from a locked frame. One bump resets the whole effect.
- Target 15-30 seconds of final footage. Longer timelapses feel impressive to you and slow to viewers. Trim to the segment with the most visible change.
- Best tasks to lapse: demo, tile setting, paint (especially color changes), mudding and sanding, flooring installs, framing, epoxy pours, and landscaping clears. Repetitive motion plus visible progress is the recipe.
But what does this actually mean for engagement? Timelapses earn their reach through rewatches and full completions - a viewer who watches a 20-second tile lapse twice just told the algorithm your video is twice as good as its length. Pair the lapse with a one-line hook caption ("6 hours of tile in 19 seconds") and you've built the format that quietly powers most big trade accounts.
6. Filming the Reveal (and the Walkthrough That Sells It)
The reveal is the money shot - it gets the most reach and drives the most profile visits, which is where homeowners turn into estimate requests. Film it in two passes on your final day, while the space is clean and staged:
- Pass one - the anchor reveal. From your tape mark, repeat your before movement exactly. This is the clip that cuts against your day-one footage.
- Pass two - the handheld walkthrough. Walk the space slowly, phone at chest height, pausing two full seconds on each detail a homeowner would ask about: the waterfall edge, the shower niche, the hidden outlet. Walk slower than feels natural - handheld speed reads as double on playback.
- Grab five detail close-ups. Tile lines, grain matches, hardware, trim joints. These become B-roll for explainer videos later, so you're banking future content in the same ten minutes.
- If the homeowner agrees, film their first look. A genuine reaction is the single most shareable clip a contractor can capture - just get clear permission before it ever posts.
The bottom line is: never leave a finished job with less than three minutes of reveal footage. The job is done, the light is good, and you will never get that access again.
7. Audio on a Loud Site: Why Voiceover Wins
Compressors, saws, and radios make live job-site audio nearly unusable - and that's fine, because the highest-converting trade videos don't use it. They use voiceover recorded after the fact, and it takes two minutes:
- Record in your truck. Windows up, engine off, phone six inches from your mouth. A parked vehicle is a legitimately good recording booth - quiet, padded, and always on site.
- Talk like you talk to a customer. "So we opened this wall up and found the last guy's plumbing..." - plain, honest, a little opinionated. Reading a script kills it.
- Keep 20-30 seconds max. One idea per video: what you found, why it matters, what it costs to fix.
- Let some site sound bleed through under the voiceover. A low bed of real job noise under your narration keeps the video feeling authentic. CapCut layers both tracks in two taps.
Voiceover is also the trust engine of a trade account. Transformations get views, but a voice explaining why the subfloor failed is what makes a homeowner feel like they already know you - and homeowners hire the contractor they feel they know.
8. Editing on Your Phone in 15 Minutes

Everything gets assembled in CapCut (free) or TikTok's built-in editor, and the whole job should take 10-15 minutes. The rules that actually move performance:
- Most striking frame first. The reveal, the shock find, or the price goes in second one - context after. This is the Reveal-First Open from our content ideas guide, and it's the difference between a scroll-past and a watch.
- Captions on, always. Most TikTok viewers watch with sound off at least part of the time. Auto-captions take one tap - fix the two words it gets wrong and move on.
- Cut anything that doesn't move the story. Walking between rooms, setting up, re-explaining - gone. A 22-second video that stays interesting beats a 50-second video with dead spots, because completion rate is the signal that decides reach.
- 15-45 seconds for most videos. Timelapses and reveals live at the short end; explainers and walkthroughs at the long end. Earn every second past 30.
- Skip the effects. No transitions, no color filters, no zoom effects. Raw footage plus captions plus voiceover is the trade-content aesthetic - polish reads as advertising, and advertising gets scrolled.
Pro Tip
Batch your edits. Save clips all week, then cut three or four videos in one sitting Sunday evening and schedule them across the week. Editing in batches keeps quality consistent and posting consistent - and consistent posting is what the algorithm rewards, as we cover in our complete TikTok growth guide.
9. The 10-Minute-a-Day Filming Schedule
Here's the whole system compressed into a schedule that runs alongside a real job without slowing anyone down. Total filming time across a typical project: about an hour, spread over weeks - and it yields six to eight posts.
The One-Job Filming Checklist
- •Day one (5 min): tape your anchor mark, film the before from it, plus a 60-second handheld walkthrough of the existing conditions.
- •Every work day (2 min): one process clip - clamp the phone, record 30-60 seconds of real work, or start a timelapse on a long task and let it run.
- •When the surprise happens (1 min): film the find raw, before cleanup. Shaky is fine - authenticity is the format.
- •Milestones (30 sec each): a 10-second anchor clip after demo, rough-in, drywall, and paint.
- •Final day (10 min): anchor reveal, handheld walkthrough, five detail close-ups, homeowner reaction if they're game.
- •In the truck (5 min, any day): record two or three voiceovers while the details are fresh.
Assign it or own it: either the phone lives in the lead's pouch and this checklist is theirs, or a designated crew member becomes the "capture person" with a $50 monthly bonus. What kills trade accounts isn't bad footage - it's jobs that end with no footage at all.
10. When a Video Takes Off: Turning Footage Into Booked Jobs
Filming well is step one. Step two is noticing which videos over-perform - and doing something about it. Watch your analytics for clips that beat your account average on completion rate and profile visits. Those two numbers together mean the video held attention and made viewers curious about your business - the exact profile of a video worth money.
For a local trade, the math on amplifying a winner is unusually direct. A follower gained in your service area is a potential customer or a neighbor who refers you, and one booked remodel can repay an entire campaign many times over. That's why selective amplification - putting budget behind proven videos instead of boosting every upload - is the model a TikTok promotion service like Viryze is built around: your best anchor-shot reveal, already validated by the algorithm, shown to more homeowners who live close enough to hire you.
If you're ready to go deeper on the paid side, our Spark Ads guide covers the ad format that promotes your organic posts directly - keeping every view, comment, and follower on your own account.
Frequently Asked Questions
What equipment do I need to film construction videos for TikTok?
Your current phone plus about $60 of protection and mounting: a rugged case or zip-top bag for dust, a spring clamp mount ($15-20) that grips ladders and studs, a small flexible tripod ($25), and painter's tape to mark your anchor spot. A clip-on lavalier mic ($20) is optional because voiceover recorded later in a quiet vehicle beats live job-site audio anyway. Skip gimbals, DSLRs, and lighting kits - the phone camera you already carry is more than good enough for the formats that perform.
How do I film a timelapse on a construction site?
Clamp your phone high and out of the work zone - a ladder rail, a door header, or a shelf bracket - frame the whole work area, plug into a battery pack, and use your camera's built-in timelapse mode. Aim the final clip at 15-30 seconds regardless of how long the task takes; most phones handle that compression automatically. Tape over the lens area of the case beforehand so dust does not settle mid-recording, and never move the phone once it starts - a locked-off frame is what makes the compression satisfying.
How do I film before-and-after videos that actually look dramatic?
Shoot both clips from the exact same position, height, and direction - that single decision creates most of the drama. Mark the spot with painter's tape on day one, film a slow 10-second vertical pan of the untouched space, and repeat the identical movement from the same mark after completion. When the two clips cut together, the room transforms while the frame holds still, which reads as far more dramatic than two unrelated angles. Matching light helps too: film both clips at roughly the same time of day.
How do I protect my phone while filming on a job site?
Dust is the real enemy, not drops. A rugged case handles impacts, but for demo days and sanding, seal the phone in a clear zip-top freezer bag - the camera shoots through the plastic with barely any quality loss if the bag is pulled tight against the lens. Keep the phone above chest height when mounted, out of the swing path of tools and material, and wipe the lens before every single clip; a dusty lens is the most common reason job-site footage looks foggy and low quality.
Do job-site TikToks need professional editing?
No - the highest-performing trade videos are assembled in CapCut or TikTok's own editor in 10-15 minutes. The editing rules that matter are simple: put the most striking frame in the first second, add captions because most viewers watch muted, cut anything that does not move the story forward, and keep most videos between 15 and 45 seconds. Polished color grading and effects add nothing; homeowners hire the contractor whose footage feels real.
Should I put paid promotion behind my job-site videos?
Only behind proven ones. Post consistently, watch which videos beat your account average for completion rate and profile visits, then amplify those winners to homeowners in your service area. The economics favor trades more than almost any niche: one booked remodel or repipe can repay an entire campaign. That selective approach - promoting the videos that already earned organic traction instead of boosting everything - is exactly the model Viryze is built around.
Filmed a reveal that's outperforming? Put it to work.
Once your anchor-shot before/afters and timelapses start beating your account average, the fastest path to booked estimates is showing your proven best video to more homeowners in your service area. That's the exact playbook Viryze runs: selective amplification of videos that already earned organic traction, targeted to the people close enough to hire you. One booked job can repay the whole campaign - everything after that is compounding local brand.
See how Viryze amplifies proven videosRelated Reading
- TikTok for Contractors & Home Service Pros: The Complete 2026 Guide - the full playbook for growing and monetizing a trade account.
- Contractor TikTok Content Ideas: 50+ Job-Site Video Concepts - the idea vault to pair with this filming system.
- The Complete TikTok Algorithm Guide - the ranking signals your footage is competing on.
- How to Film DIY Projects for TikTok - the adjacent filming guide for workshop and home projects.
- TikTok Spark Ads Guide - the ad format contractors should use to amplify winners.

Head of Creator Success at Viryze
TikTok growth strategist helping creators reach their first 100K followers through data-driven promotion strategies.