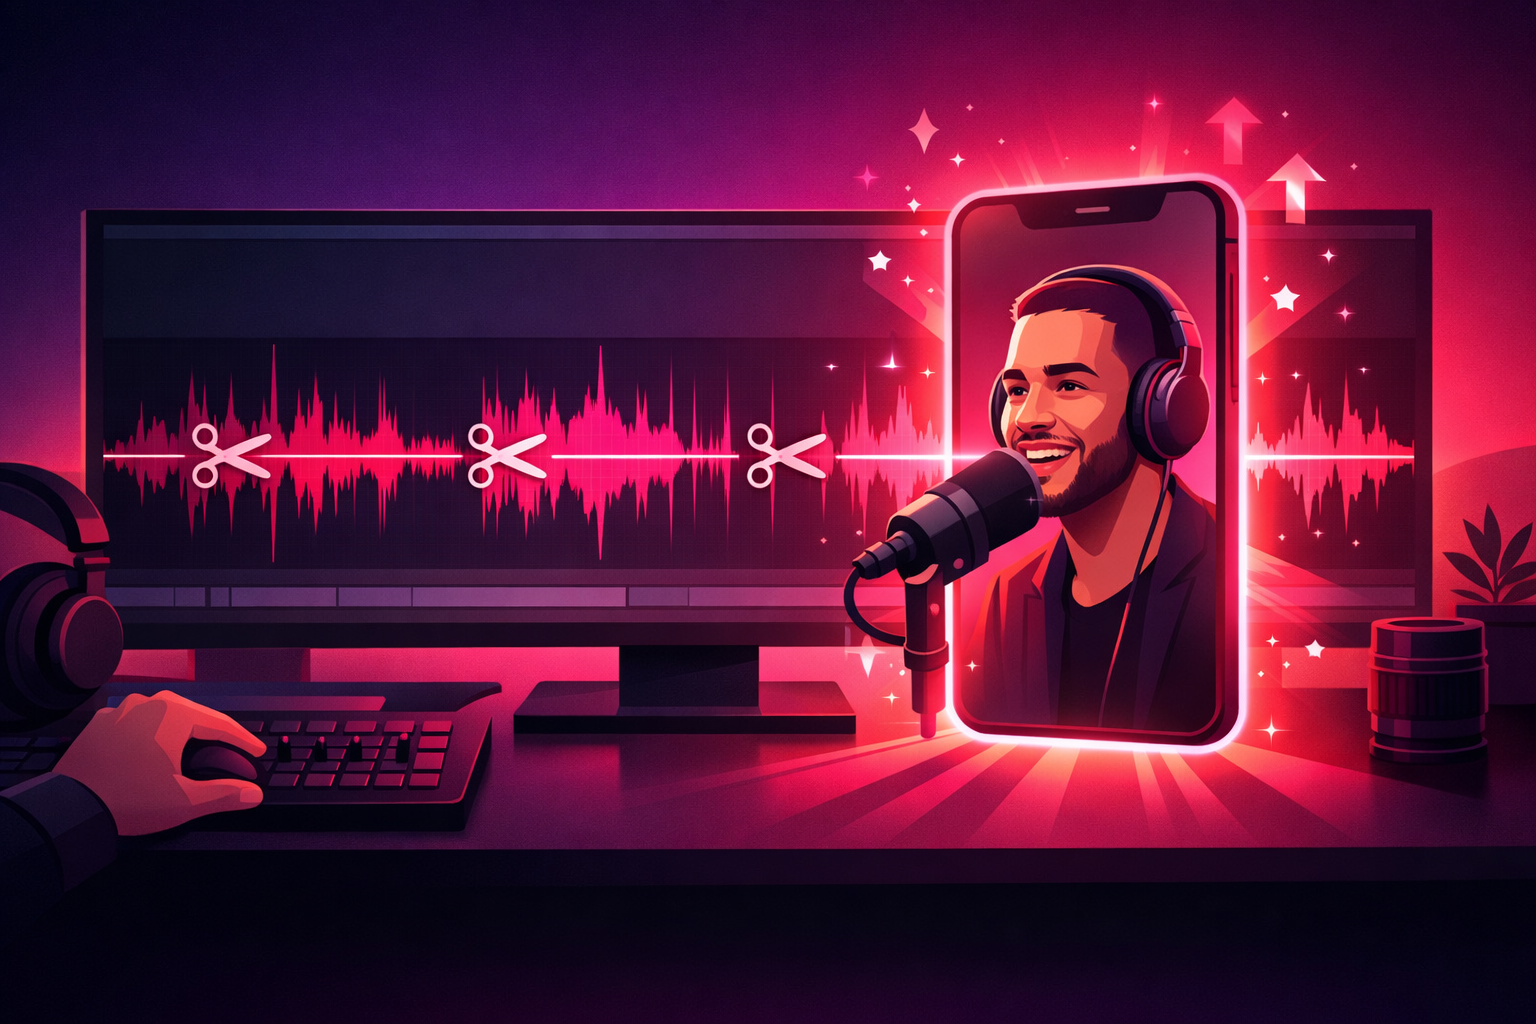
You found the perfect moment - your guest said something so good the whole room went quiet. You clipped it, posted it, and it did... 340 views. Meanwhile some show half your size posts the same kind of moment and pulls 200K. The difference usually isn't the moment. It's the edit.
Here's the uncomfortable truth about podcast clips on TikTok: the raw material matters less than what you do in the first second, how big the face is on screen, and whether the captions pull the eye through the sentence. Those are editing decisions - which means they're completely learnable.
This guide is the full clip-making workflow: how to pick the moment, where exactly to place the cut, how to frame a vertical shot from a horizontal recording, how to style captions that hold attention, which tools to use, and how to batch a week of clips in one sitting. It's the production half of the system - if you need the what to post half first, start with our 50+ podcast clip concepts and the complete TikTok for podcasters guide.
The honest summary:
- Cut into the line, not before it. The clip starts on the strongest sentence - every second of setup you keep costs you viewers.
- Big face, vertical frame. The active speaker fills the upper two-thirds of a 9:16 frame; the lower third belongs to captions.
- Captions are the second hook. Word-timed, accurate, high-contrast - they carry the sound-off viewer and speed up the sound-on one.
- Batch or burn out. One template, one session, 5-8 clips per episode. Editing clips one at a time is why podcasters quit posting.
What's Inside
- 1. Why Most Podcast Clips Die in the Edit
- 2. Step 1: Pick One Self-Contained Moment
- 3. Step 2: Cut Into the Line (The Quote-First Edit)
- 4. Step 3: Frame It Vertical (Big-Face Framing)
- 5. Step 4: Captions That Hold the Scroll
- 6. Step 5: Audio Polish & Export Settings
- 7. The Clip Stack: Tools That Do the Heavy Lifting
- 8. The Two-Hour Episode Batch
- 9. Making Podcast Clips for TikTok Without Video
- 10. From Good Edit to Growth Engine
- Frequently Asked Questions
1. Why Most Podcast Clips Die in the Edit
Watch a failing podcast clip and you'll almost always find the same three edits - or rather, the same three missing edits. It opens with setup instead of the line. The speakers are two small heads in a wide horizontal shot squeezed into a vertical frame. And the captions are either missing, auto-generated with errors, or one giant paragraph parked over someone's face.
None of those are content problems. The moment underneath might be genuinely great. But TikTok is a completion-rate game - the algorithm's dominant question is "did people who saw this keep watching it?" - and each of those three mistakes bleeds viewers at a specific point: the weak open loses them in the first second, the small faces lose them by second three, and the bad captions lose the sound-off crowd entirely. For the full picture of what the algorithm measures, see our complete TikTok algorithm guide.
The good news: this is the most fixable problem in podcasting. You already have the raw material - a typical episode contains 8-15 postable moments. The five steps below are the difference between a clip that documents your episode and a clip that performs on the For You page.
2. Step 1: Pick One Self-Contained Moment
Before you touch an editor, apply the test that separates clips from fragments: would this make complete sense to someone who has never heard of your show? A clip is not a preview of your episode - it's a finished, standalone video that happens to come from your episode. If the moment needs context from ten minutes earlier, it fails the test.
The second rule: one idea per clip. The moment your guest starts a second thought, that's not bonus value - that's your next clip. Single-idea clips hold completion rate because the viewer can feel the finish line; two-idea clips sag in the middle exactly where the first idea ends.
What makes a moment worth cutting:
- It has one quotable sentence. If you can't point at the single line that would stop a scroll, keep scrubbing.
- It resolves. The take gets defended, the story lands its ending, the tip finishes with what to actually do. Unresolved clips feel like ads for the episode - and get treated like ads.
- It fits 20-45 seconds. That's the sweet spot for talking clips. Stories can earn 60-90 seconds, but only when the tension holds every sentence.
- It has energy on camera. Between two equally good takes, pick the one where the speaker leans in, gestures, or laughs. Delivery is half the clip.
The best time to find these moments is while recording - keep a notepad open and jot a timestamp whenever the room reacts. Ten seconds of marking saves an hour of scrubbing later. Our podcast clip concepts guide breaks down the full capture system plus 50+ moment types to watch for.
3. Step 2: Cut Into the Line (The Quote-First Edit)
This is the single highest-leverage edit in podcast clipping, so let's be precise about it. The Quote-First Open means your clip's first frame is the speaker mid-sentence on the strongest line of the moment - not the question that prompted it, not "so, one thing I always tell people...", not a breath. The line itself.
Here's what that looks like on the timeline. Say the raw moment runs like this:
"Yeah, so, that's a great question, and I get asked this a lot, and honestly I used to think the same thing, but..."
→ CUT STARTS HERE: "...nobody's coming to save your business. I waited two years for a break that never came, and here's what I did instead."
The strikethrough text is real conversation - and it's all preamble. The clip opens on "nobody's coming to save your business" because that sentence does what the first second must do: create a question the viewer needs answered.
Three trimming rules that finish the job:
- Kill dead air inside the clip. Tighten pauses over about half a second unless the pause is the moment (a guest genuinely thinking can be the hook). Podcast pacing and TikTok pacing are different sports.
- Cut filler words at the edit points. You don't need to surgically remove every "um," but the first and last sentences of the clip should be clean.
- End one beat after the payoff. The clip ends when the idea resolves - not after the follow-up question starts. A tight ending is what makes people rewatch, and rewatches are gold for completion rate.

One more move worth stealing: if the line needs a sliver of context, don't restore the preamble - put the context in an on-screen text frame instead. One line like "a bankruptcy lawyer on the money mistake she sees weekly" over the first two seconds does the setup's job without costing the hook.
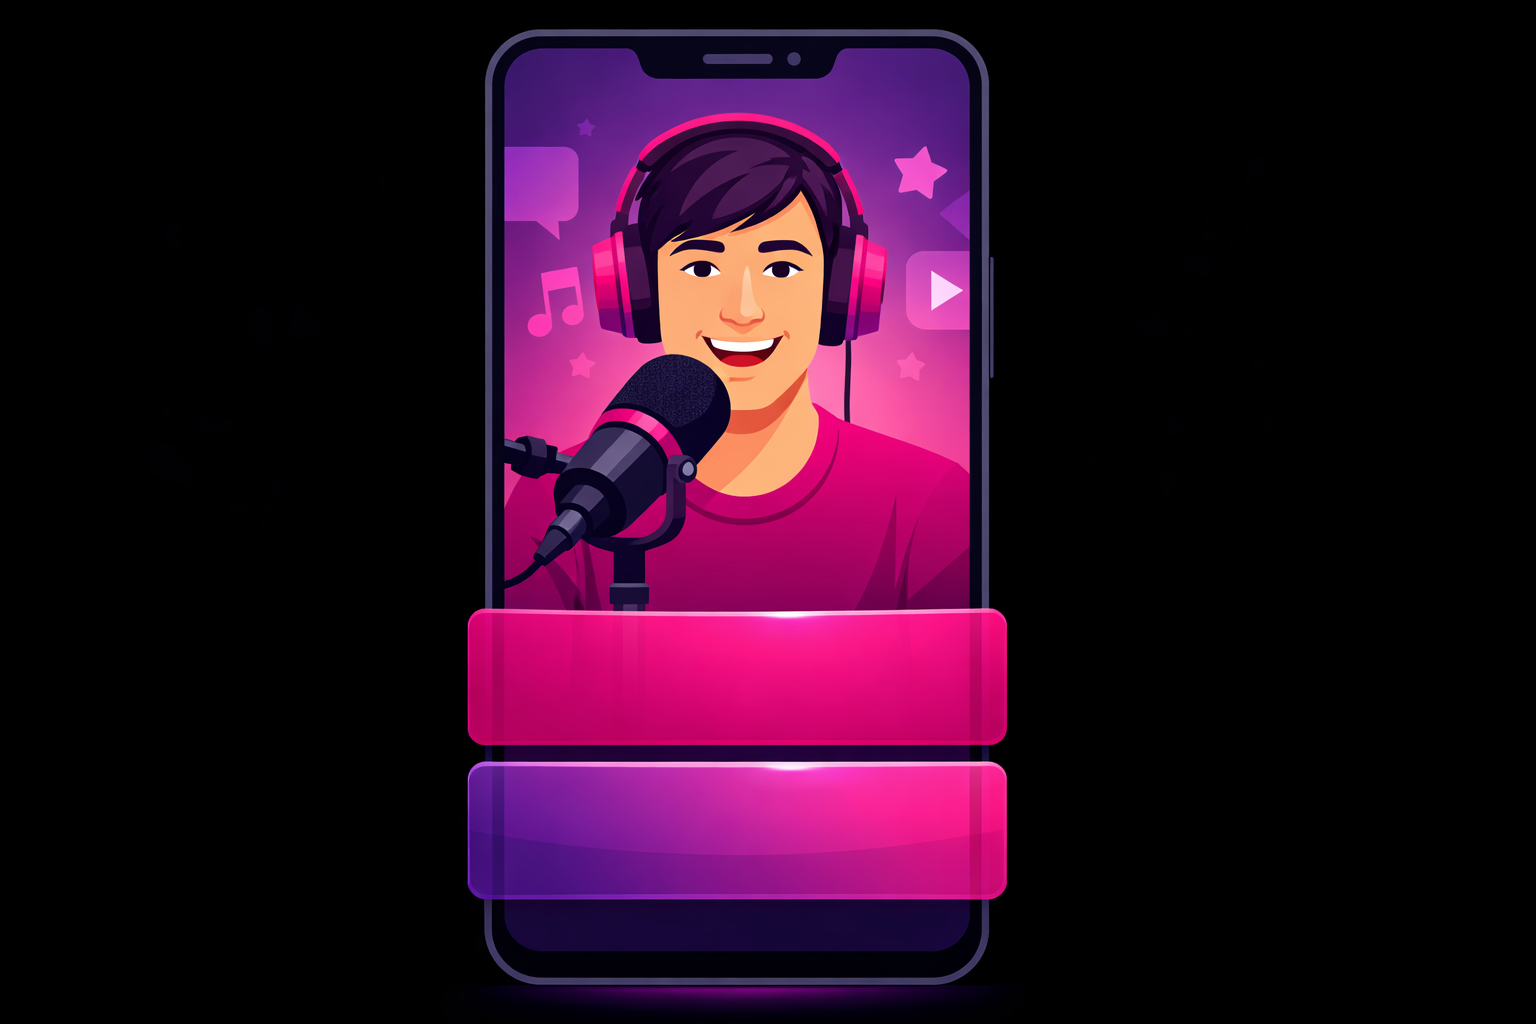
4. Step 3: Frame It Vertical (Big-Face Framing)
Your podcast is probably recorded horizontal - a wide shot of two people at a table. TikTok is a vertical, held-in-one-hand, faces-up-close medium. The reframe is where most podcast clips quietly fail: a horizontal wide shot dropped into a 9:16 canvas gives you two tiny heads and a lot of table, and tiny heads don't stop scrolls.
The fix is what we call Big-Face Framing: crop into the active speaker so their face and upper body fill roughly the upper two-thirds of the vertical frame, and treat the lower third as reserved caption space. On a phone screen, that framing reads like a video call from someone interesting - which is exactly the intimacy that makes talking clips work.
- Cut between speakers, don't split-screen by default. Switch the crop to whoever is talking (or reacting - a jaw-drop is worth the cut). Save the split-screen for genuine back-and-forth argument moments.
- Eyes in the top third, a little headroom. Don't center the face vertically - it pushes the mouth into caption territory and leaves dead space above the head.
- Respect the UI-safe zones. TikTok's interface covers roughly the top 10% (search), the bottom 15% (caption text and sound info), and the right edge (like, comment, share buttons). Anything important - faces, captions, on-screen context - lives inside the remaining center area.
- Punch in on the payoff. A subtle 5-10% zoom on the key sentence adds emphasis without feeling edited. One per clip, on the line that matters.
If you record with even one fixed camera, set it so this crop is always available: speaker roughly centered, chest-up, with margin on both sides. Podcasters who plan the vertical crop at recording time cut their edit time roughly in half - the reframe becomes a one-click template instead of a per-clip decision.
5. Step 4: Captions That Hold the Scroll
Captions on a podcast clip aren't an accessibility add-on - they're the second hook. A big share of TikTok viewing happens with sound off or barely on, and for those viewers your captions are the clip. Even for sound-on viewers, word-timed captions visibly lift watch time because the appearing text pulls the eye forward through the sentence - from our experience analyzing creator campaigns, well-captioned talking clips reliably outperform their uncaptioned twins by double-digit completion percentages.
The caption formula that works in 2026:
- One to two short lines at a time. Three to five words per line, swapping in rhythm with the speech. Never a paragraph block.
- Word-by-word or phrase timing. Modern editors auto-sync captions to the audio. The active-word highlight style survives because it works - it gives the eye a moving target.
- High contrast, bold, boring font. White bold text with a black outline or background bar beats every decorative font. Style one keyword per sentence in your accent color if you want personality - and then stop.
- Positioned in the caption-safe lower third - below the face, above TikTok's own UI text. Never over a mouth.
- 100% accurate. Auto-captions get niche terms, names, and numbers wrong constantly. Fixing them by hand is the least skippable minute of the whole edit - a caption that misquotes your guest is a credibility leak with your exact target audience.
Pro Tip
Save your caption style as a preset the first time you build it - font, size, position, colors, animation. From then on every clip inherits it in one tap, your feed gets a recognizable visual identity, and you never re-make the same decision twice. Consistent caption styling is one of the quiet reasons breakout podcast accounts feel like shows instead of collections of clips.
6. Step 5: Audio Polish & Export Settings
You're a podcaster, so your source audio is probably already better than 95% of TikTok. Don't squander it at the finish line:
- Level the speech loud and consistent. Phone speakers and earbuds are the playback targets. If your editor has an "enhance voice" or loudness-normalize switch, use it - clips compete against professionally mastered audio on the same feed.
- Consider a subtle music bed - or don't. A quiet instrumental under a story clip can add momentum, but speech clarity always wins the conflict. When in doubt, skip it.
- Export vertical 1080x1920, MP4, highest bitrate available. TikTok re-compresses every upload, so feeding it a crisp file is how you stay sharp after compression.
- Upload natively and write a real caption. Post the file directly in the app or via a scheduler, add 3-5 relevant hashtags, and use the text caption to add a hook or question - not a link plea. Your bio link does the episode-funnel work.
7. The Clip Stack: Tools That Do the Heavy Lifting
You can make every clip in this guide with free software. The real decision is which workflow fits you - there are three, and they scale differently:
- The manual editor (CapCut or similar). Free, vertical-native, with auto-captions, reframing, and presets. Full creative control, slowest per clip. Right answer for your first months - you learn what a good clip feels like by making the cuts yourself.
- The text-based editor (Descript or similar). Transcribes the episode; you cut video by deleting words from the transcript. Finding and trimming moments gets dramatically faster, and removing filler words is nearly automatic. The natural upgrade once you're clipping weekly.
- The AI clipper (Opus Clip, Riverside Magic Clips, or similar). Scans the full episode, proposes scored clips, auto-reframes and auto-captions them. Unbeatable for volume - but treat its picks as a first draft. AI reliably finds loud moments and misses meaningful ones, and it can't know that your guest's throwaway line was actually the most controversial thing said all episode.
The hybrid that most growing shows settle into: AI proposes, you decide. Let the tools do the mechanical 80% - reframing, captioning, formatting - and keep the three editorial calls that actually determine performance: which moment, where the cut lands, and caption accuracy.
8. The Two-Hour Episode Batch
Editing one clip at a time, the night before posting, is how podcasters end up hating TikTok. The shows that post daily without burning out run what we call The Two-Hour Episode Batch - one editing session per episode that produces the entire week's clips. Here's the clock:
- 0:00-0:20 - Shortlist. Open your recording-day timestamp notes (or your AI clipper's proposals), pull 8-10 candidate moments, and pick the best 5-8 across different categories - a take, a story, a tip, a laugh, a guest quote.
- 0:20-1:40 - Cut in template. Edit every clip back to back in your saved template: quote-first in-point, Big-Face crop, preset captions, audio switch, export. About 10-15 minutes per clip once the template exists.
- 1:40-2:00 - Schedule. Write the text captions, pick hashtags, and schedule the week - roughly one clip per day, strongest clip on your historically best day.

The batch does more than save time - it fixes quality. Cutting eight clips in one sitting means every clip is judged against seven siblings, so the weak ones get caught before they post. And because the whole week exists by Monday, you're never posting from desperation. That consistency is the foundation the full TikTok growth playbook builds on.
9. Making Podcast Clips for TikTok Without Video
No cameras on your show yet? You can still run everything above - the moment selection, the quote-first cut, the captions, the batch - you just need a visual layer to carry the audio:
- The waveform card. A static image of you or your guest, show art, an animated waveform, and big word-timed captions. The workhorse audiogram format - captions do all the retention work, so make them excellent.
- The b-roll story. For narrative clips, lay stock or AI-generated footage that matches the story beats under the audio. More effort, meaningfully higher performance than a static card.
- The separately-filmed tease. Film yourself on your phone delivering the clip's idea directly to camera as a companion piece. Technically not a clip from the episode - often your best performer anyway.
Honest advice: treat audio-only formats as a bridge, not a destination. A single fixed camera pointed at your recording setup unlocks Big-Face Framing - the format that consistently wins for talking content - and it costs one tripod and zero extra recording effort.
10. From Good Edit to Growth Engine
Once your clips are properly made, something useful happens: your metrics start telling the truth. When every clip has a strong open, big framing, and clean captions, performance differences between clips reflect the moments - which takes, stories, and formats your audience actually wants. That signal is the most valuable thing your first hundred clips produce.
Watch for the clips that clear your account's averages on completion rate, shares, saves, and new followers. Those proven winners are where paid amplification stops being a gamble: instead of promoting and hoping, you put budget behind a clip the algorithm has already validated. That's the exact model our TikTok promotion service is built on - and it's unusually profitable for podcasters, because every follower a proven clip earns is a repeat listener you'll reach for free with every future episode.
For the mechanics of promoting an existing organic post, see our Spark Ads guide - it's the ad format that amplifies your actual clip, engagement and all, rather than running a separate ad next to it.
Frequently Asked Questions
How do I make TikTok clips from my podcast?
Mark strong moments while you record, then edit each one into a self-contained vertical video: cut straight into the strongest sentence with zero intro, crop to 9:16 with the speaker filling the upper two-thirds of the frame, add accurate word-timed captions in the lower third, level the audio, and export at 1080x1920. A 60-90 minute episode typically yields 5-8 finished clips, and cutting them all in one batch session with a saved template takes under two hours.
What size and format should podcast clips be for TikTok?
Export vertical 9:16 at 1080x1920 pixels in MP4 (H.264) at the highest bitrate your editor allows - TikTok compresses on upload, so starting quality matters. Keep the speaker and captions inside the central safe area: roughly the top 10% is covered by the search bar, the bottom 15% by the caption and sound information, and the right edge by the like, comment, and share buttons.
What is the best app for making podcast clips?
Most podcasters land on one of three stacks. CapCut (free) covers manual cutting, reframing, and auto-captions and is the best starting point. Text-based editors like Descript let you cut the clip by deleting words from the transcript, which is dramatically faster for finding and trimming moments. AI clipping tools like Opus Clip or Riverside Magic Clips scan the whole episode and propose clips automatically - useful for volume, but treat their picks as a first draft, because they miss context that you, the host, catch instantly.
Do podcast clips need captions on TikTok?
Yes - captions are non-negotiable for podcast clips. A large share of TikTok viewing happens with sound off or low, and a talking-head clip with no captions is invisible to those viewers. Word-timed captions also visibly boost watch time on sound-on views because they pull the eye through the sentence. Auto-generate them, then fix every single error by hand: a caption that misquotes your guest reads as sloppy at best and misleading at worst.
Can AI tools make my podcast clips for me?
AI clipping tools are genuinely useful for surfacing candidate moments and handling the mechanical work - reframing, captioning, and formatting. What they cannot do reliably is judge which moment is actually the strongest, cut into the exact word that makes the hook land, or catch a caption error on a niche term. The workflow that wins in 2026 is hybrid: let AI propose and format, then make the editorial calls - moment selection, in-point, and caption accuracy - yourself.
Made a clip that's outperforming everything? Don't let it fade.
A well-edited clip that breaks out is the strongest growth signal your show will ever produce - and it has a shelf life. Viryze uses selective amplification to put your proven clips in front of thousands more of the exact people likely to follow, using TikTok's official ads platform. You keep making great edits; we make sure the best ones reach the audience they earned.
Amplify your best clipsRelated Reading
- TikTok for Podcasters: The Complete 2026 Guide - the full playbook for growing and monetizing your show with TikTok.
- Podcast TikTok Content Ideas: 50+ Clip Concepts - what to cut, so this guide always has raw material to work with.
- The Complete TikTok Algorithm Guide - the ranking signals every editing decision in this guide is built around.
- TikTok Spark Ads Guide - how to amplify a proven clip without losing its organic engagement.
- The Complete TikTok Growth Strategy Guide - the cross-niche fundamentals underneath every clip strategy.

Head of Creator Success at Viryze
TikTok growth strategist helping creators reach their first 100K followers through data-driven promotion strategies.