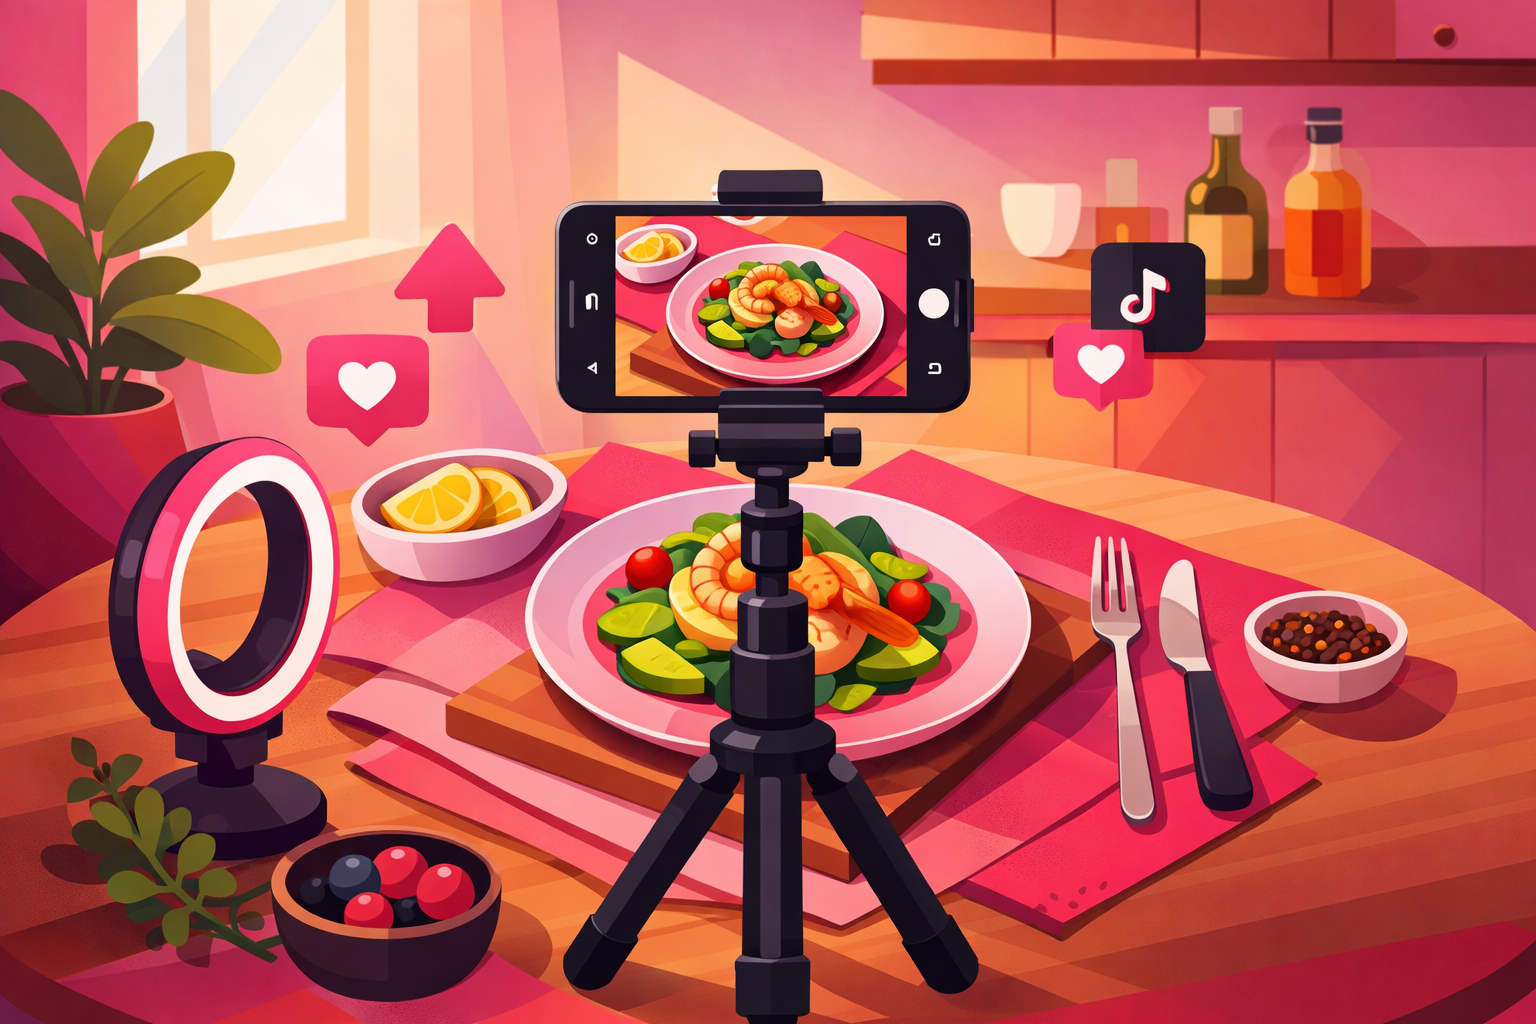
Your Food Tastes Amazing—But Does It Look Amazing on Screen?
You spend an hour perfecting a dish, hit record, and the video looks... flat. The colors are dull. The lighting is off. Your gorgeous plate of pasta looks like cafeteria food on screen. It's not your cooking—it's your food photography.
Here's a stat that should grab your attention: food TikToks with strong visual presentation get up to 3x more engagement than those with poor lighting and composition. The TikTok algorithm rewards watch time, and visually stunning food content keeps viewers glued to their screens.
The good news? You don't need a professional camera, a studio, or years of photography training. In this guide, we'll break down the exact food photography techniques that top TikTok creators use to make their dishes pop—from lighting setups you can build for under $20 to composition tricks that instantly make any plate look restaurant-quality.
What You'll Learn
- Why Visuals Are Everything for Food Content on TikTok
- Lighting Mastery: The #1 Factor That Makes or Breaks Food Content
- Camera Angles: The Right Shot for Every Dish
- Food Styling Secrets: Make Any Dish Look Restaurant-Quality
- Composition & Backgrounds That Stop the Scroll
- Editing Tips: Polish Without Overdoing It
- 7 Food Photography Mistakes That Kill Your Engagement
- Frequently Asked Questions
Why Visuals Are Everything for Food Content on TikTok
Food is one of the most visual categories on TikTok. Unlike comedy or storytelling content, where personality carries the video, food content lives and dies by how the dish looks on screen. Your viewer's first reaction happens in under a second—and it's entirely based on visual appeal.
TikTok's algorithm heavily weights watch time and completion rate. When your food looks mouth-watering, viewers stay longer, rewatch, and share. When it looks flat or poorly lit, they scroll past in a heartbeat. This is true whether you're a food creator building an audience or a restaurant promoting your menu.
The Visual First Impression Rule™
We call it the Visual First Impression Rule™: viewers decide whether to keep watching your food video within the first frame. That means your opening shot needs to be your most visually stunning. Lead with the finished dish, not the raw ingredients. Show the money shot first, then the process second. This simple reordering can boost your completion rate by 40% or more.
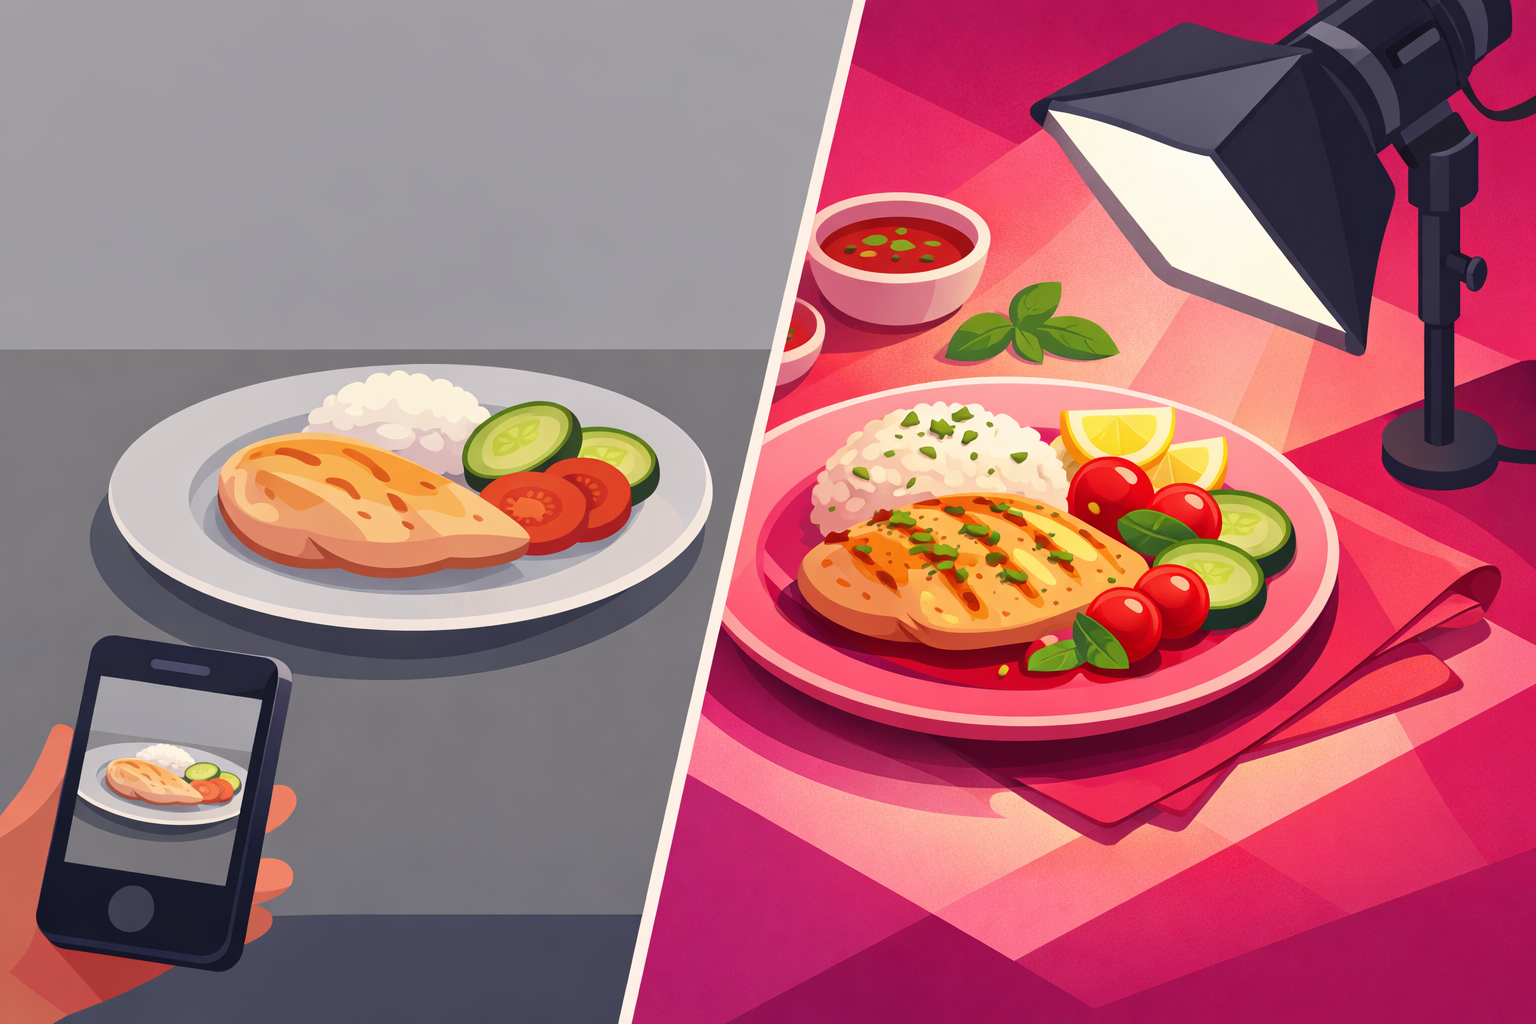
Lighting Mastery: The #1 Factor That Makes or Breaks Food Content
If there's one thing that separates amateur food content from professional-looking videos, it's lighting. Bad lighting makes gourmet food look unappetizing. Good lighting makes even a simple bowl of oatmeal look stunning. Here's how to get it right every time.
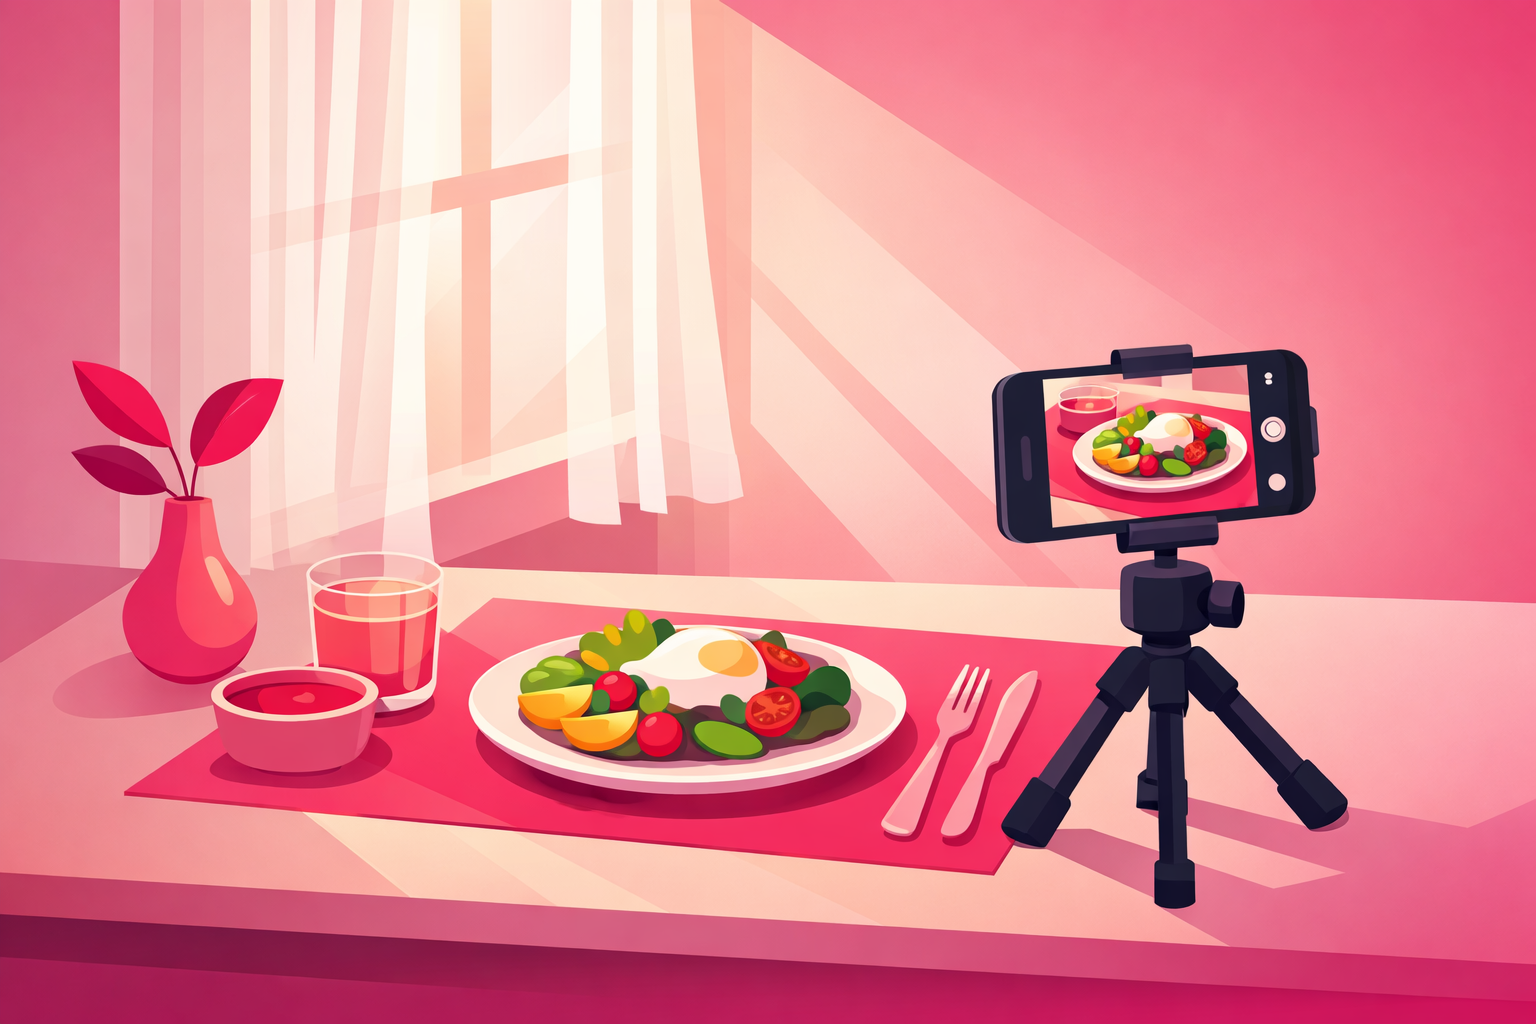
Natural Light Is Your Best Friend (and It's Free)
The vast majority of top food creators on TikTok shoot with natural window light. It's soft, it renders colors accurately, and it creates the warm, inviting look that makes food content perform on the platform.
Here's your setup: position your table or counter next to the largest window in your kitchen. Place the dish so the light comes from the side (between 9 o'clock and 11 o'clock positions). This creates gentle shadows that give your food dimension and depth without harsh dark spots.
The Side-Light Setup (Under $20)
- Position dish near window—light should come from the side, not behind you
- Tape white paper or foam board opposite the window to bounce light back and fill shadows
- Hang a white sheet or sheer curtain over the window if sunlight is too direct
- Turn off ALL overhead kitchen lights—they create unflattering orange/yellow color casts
- Shoot during golden hours—10 AM to 2 PM gives the most consistent natural light
When Natural Light Isn't an Option
Not everyone has great windows or a daytime schedule. If you need artificial lighting, invest in a daylight-balanced LED panel (5500K color temperature). Position it at the same side angle as you would a window, and use a diffuser to soften the light. A single panel with a diffuser will cost $30-60 and transform your evening shoots.
The biggest mistake with artificial light? Mixing light sources. If you have a daylight LED on one side and warm kitchen lights overhead, your food will look muddy and off-color. Pick one light source and commit to it. Turn everything else off.
Pro Tip
Once your lighting is dialed in, your content quality jumps dramatically—and so does your growth. Pair great visuals with a TikTok promotion service like Viryze to put your best-looking food content in front of the audiences most likely to follow you. Great photography + targeted reach = rapid growth.
Camera Angles: The Right Shot for Every Dish
Choosing the right camera angle is just as important as lighting. The wrong angle can make a towering burger look flat or a beautiful bowl of ramen look like a puddle. The right angle highlights the best features of your dish.
The Three Essential Food Photography Angles
1. Overhead (90°) — The Flatlay King
Best for: Pizza, salads, grain bowls, charcuterie boards, smoothie bowls, flat sandwiches
Mount your phone directly above the dish pointing straight down. This angle turns your plate into a canvas and shows off patterns, color contrast, and arrangement. It's the most popular angle on food TikTok for a reason—it looks clean, symmetrical, and satisfying.
2. 45-Degree Angle — The Versatile Standard
Best for: Burgers, cakes, stacked pancakes, casseroles, plated entrees
This mimics how you naturally see food when sitting at a table. It shows both the top of the dish and its height, making it the most versatile angle for food content. When in doubt, start here—it works for about 80% of dishes.
3. Straight-On (0°) — The Drama Shot
Best for: Layered cakes, tall drinks, stacked sandwiches, cross-section cuts, pours and drizzles
Position your camera at the same level as the dish. This angle emphasizes layers, height, and drips. It's especially powerful for "the cross-section reveal"—cutting into a cake or sandwich to show the inside.
The Angle-Match Method™
Here's a simple rule that top creators follow: match your angle to your dish's strongest dimension. If the dish is wide (like a pizza), go overhead. If it's tall (like a layer cake), go straight-on. If it's both (like a loaded plate), use 45 degrees. We call this the Angle-Match Method™, and it eliminates the guesswork for every dish you shoot.
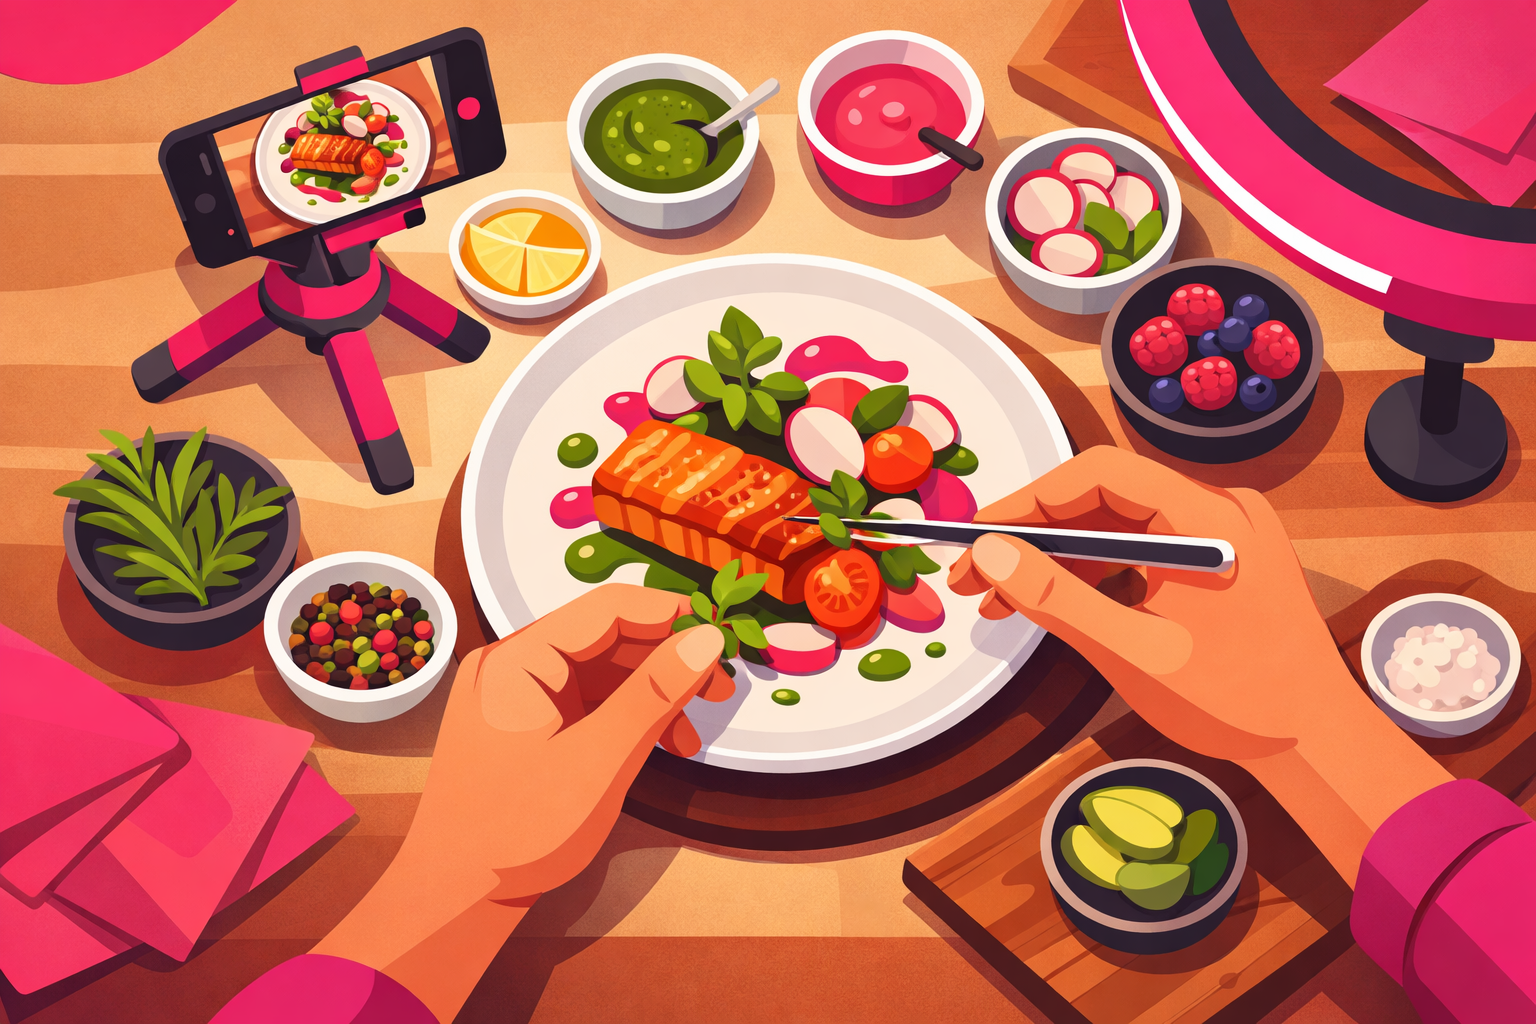
Food Styling Secrets: Make Any Dish Look Restaurant-Quality
Food styling is what separates content that looks "good" from content that makes people stop scrolling and say "I NEED that recipe." The difference often comes down to small details that take 2-3 extra minutes.
The 30-Second Rule: Shoot Immediately After Plating
Food looks its absolute best in the first 30-60 seconds after plating. Steam is still rising, sauces are glossy, greens are vibrant, and cheese is perfectly melted. After that window, everything starts to dull. Have your camera ready before you plate, and start shooting the moment the dish is done.
Styling Techniques That Work Every Time
- •Garnish with intention—A pinch of fresh herbs, a drizzle of oil, or a sprinkle of seeds adds visual interest and color contrast. Place garnishes at different heights for dimension.
- •Use odd numbers—Three shrimp looks better than four. Five raspberries looks better than six. Odd groupings create visual tension that our brains find more appealing.
- •Create height variation—Stack ingredients, lean things against each other, and use mounds instead of spreading food flat. Height creates shadows and dimension on camera.
- •Embrace the "imperfect" look—A perfectly arranged plate can look sterile on TikTok. A little sauce drip off the plate, a crumb trail, or a torn piece of bread makes it feel real and appetizing.
- •Oil is your secret weapon—A light brush of olive oil on proteins, vegetables, or bread makes surfaces glisten under light. This works incredibly well for both photos and video.
For more ideas on creating scroll-stopping content, check out our 50 TikTok cooking content ideas that top creators use consistently.
Composition & Backgrounds That Stop the Scroll
Composition is how you arrange everything within the frame—not just the food, but the plate, props, background, and negative space. Good composition guides the viewer's eye exactly where you want it to go: to the dish.
The Rule of Thirds for Food
Turn on the grid overlay on your phone's camera. Place the main subject (your dish) at one of the four intersection points rather than dead center. This creates a more dynamic and visually interesting composition that feels professional without being obvious.
Background Choices That Make Food Pop
- •Dark backgrounds (black slate, dark wood) make vibrant, colorful dishes stand out dramatically
- •Light backgrounds (white marble, light wood) create a clean, airy, modern feel
- •Textured surfaces (linen cloth, rustic wood, concrete) add visual interest without competing with the food
- •Avoid busy patterns—floral tablecloths, patterned plates, or cluttered countertops distract from the dish
Budget hack: Buy a $15 vinyl backdrop from any craft store. They come in marble, wood, and concrete textures. Lay one flat for overhead shots or prop it up behind the dish. This single investment will make your kitchen counter look like a food magazine set.
Props: Less Is More
Props should support the dish, not compete with it. A few well-chosen items—a linen napkin, a wooden spoon, a scattered ingredient—add context and warmth. But more than 3-4 props in a frame starts to look cluttered. The dish is always the star.
Editing Tips: Polish Without Overdoing It
Editing is where you take good food content and make it look professional. But the key word is polish, not transform. Over-edited food looks fake, and viewers can tell. Here's how to edit food content the right way.
The 5-Step Food Editing Workflow
- Boost warmth slightly (+5 to +15)—Food looks more appetizing with warm tones. Avoid cool, blue-tinted edits.
- Increase saturation subtly (+10 to +20)—This makes colors pop without looking artificial. Go easy—oversaturation makes food look radioactive.
- Bump contrast slightly (+5 to +10)—This separates the food from the background and adds definition to textures.
- Sharpen the details (+15 to +25)—This makes textures crisp—grill marks, herb leaves, cheese pulls all benefit from a touch of sharpening.
- Adjust shadows (+10 to +15)—Lifting shadows slightly reveals detail in darker areas without washing out the image.
Best Free Editing Apps for Food TikTok
- •Lightroom Mobile (Free)—Industry standard for color correction. Create a custom food preset and apply it consistently.
- •Snapseed (Free)—Google's free editor with selective editing to brighten specific parts of the dish.
- •CapCut (Free)—TikTok's own editor with built-in food-friendly filters and color grading.
- •TikTok Native Editor—Surprisingly capable for quick adjustments. Use the "Warm" filter at 30-50% intensity for food.
If you're looking for more tips on filming and producing quality food videos, our guide to filming TikTok recipe videos covers the video production side in detail.
Pro Tip
Create a custom Lightroom preset that matches your brand aesthetic and apply it to every video thumbnail. Consistency builds recognition. Once your visual style is locked in, use professional TikTok promotion services to amplify your most visually stunning content and attract followers who love your aesthetic.
7 Food Photography Mistakes That Kill Your Engagement
Even experienced food creators make these mistakes. Fixing just one or two of these can dramatically improve how your content performs. Check this list against your recent videos.
1. Using Overhead Kitchen Lights
This is the #1 killer of food content quality. Overhead fluorescent or LED kitchen lights create harsh top-down shadows, unflattering color casts, and make every dish look institutional. Turn them off and use side lighting only.
2. Shooting on Cluttered Countertops
Paper towels, spice bottles, dirty utensils, and random kitchen items in the background distract from your dish. Clear the frame or use a clean backdrop. Viewers should see food, not your kitchen mess.
3. Wrong Angle for the Dish
Shooting a tall layer cake from overhead makes it look flat. Shooting a grain bowl from straight-on hides the toppings. Use the Angle-Match Method™: match the angle to the dish's strongest visual dimension.
4. Waiting Too Long to Shoot
Food deteriorates visually within minutes. Melted cheese solidifies, steam disappears, sauces congeal, and greens wilt. Set up your shot before plating and capture within the first 30-60 seconds.
5. Over-Editing Colors
Cranking saturation to max makes food look neon and fake. Viewers' subconscious recognizes unnatural colors instantly. Keep edits subtle—if someone can tell the photo is heavily edited, you've gone too far.
6. Ignoring the Plate
A plain white plate works fine for most dishes, but a chipped plate, a plate that's too big (making the portion look tiny), or a plate that clashes with the food's colors can hurt your content. Match the plate to the dish.
7. No Movement in Video
Static shots of food look like photos. For TikTok, you need motion—a slow pan, a cheese pull, a sauce drizzle, steam rising, a fork cutting in. Movement triggers the brain's appetite response and keeps viewers watching longer.
Want to see how successful food creators avoid these mistakes while growing their accounts? Read our guide on food influencer growth on TikTok for real strategies from creators who went from zero to 100K followers.
Ready to Show Off Your Best-Looking Food Content?
Great food photography is the foundation—but it's only half the equation. Once your content looks stunning, you need the right audience to see it. Viryze helps food creators reach their ideal audience through targeted TikTok promotion, putting your visually stunning dishes in front of foodies who are most likely to follow, engage, and share. Start turning beautiful content into a growing audience.
Frequently Asked Questions
Do I need an expensive camera for food photography on TikTok?
No. Most top food creators shoot entirely on their smartphones. iPhones (12 and newer) and Samsung Galaxy S series phones have excellent cameras for food content. The key factors that matter most are lighting and composition, not camera cost. A $20 tripod and natural window light will improve your food content more than any camera upgrade.
What is the best lighting for food photography on TikTok?
Natural window light is the gold standard for food photography on TikTok. Position your dish near a large window with indirect sunlight, and use a white foam board on the opposite side as a reflector to fill in shadows. Avoid overhead kitchen lights and direct sunlight, which create harsh shadows and unflattering color casts.
What angle should I use to photograph food for TikTok?
The three best angles for food photography on TikTok are: overhead (90 degrees) for flat dishes like pizza, salads, and bowls; 45-degree angle for dishes with height like burgers, cakes, and stacked items; and straight-on (0 degrees) for layered dishes, drinks, and anything you want to show the cross-section of. Match your angle to your dish shape for the most appealing result.
How do food creators make their dishes look so good on TikTok?
Top food creators combine several techniques: they use natural side lighting (never overhead kitchen lights), shoot during the "golden hour" of cooking when food looks its best, style dishes with garnishes and props, use the rule of thirds for composition, and apply subtle editing to boost warmth and saturation. The biggest secret is shooting immediately after plating—food looks best in the first 30-60 seconds.
What background should I use for food photography on TikTok?
Dark backgrounds (black slate, dark wood) make vibrant, colorful dishes stand out. Light backgrounds (white marble, light wood) create a clean, modern feel. The easiest budget option is a $15 vinyl backdrop from a craft store—they come in marble, wood, and concrete textures and instantly make your kitchen counter look like a professional set.
Continue Reading
TikTok for Food Creators: Complete 2025 Guide
The comprehensive guide to building your food brand on TikTok, from niche selection to monetization strategies.
Read More →How to Film TikTok Recipe Videos That Go Viral
Master the technical side of recipe video production with proven filming techniques and equipment recommendations.
Read More →50 TikTok Cooking Content Ideas That Always Work
Never run out of content ideas with this curated list of cooking video concepts proven to drive engagement.
Read More →
Head of Creator Success at Viryze
TikTok growth strategist helping creators reach their first 100K followers through data-driven promotion strategies.