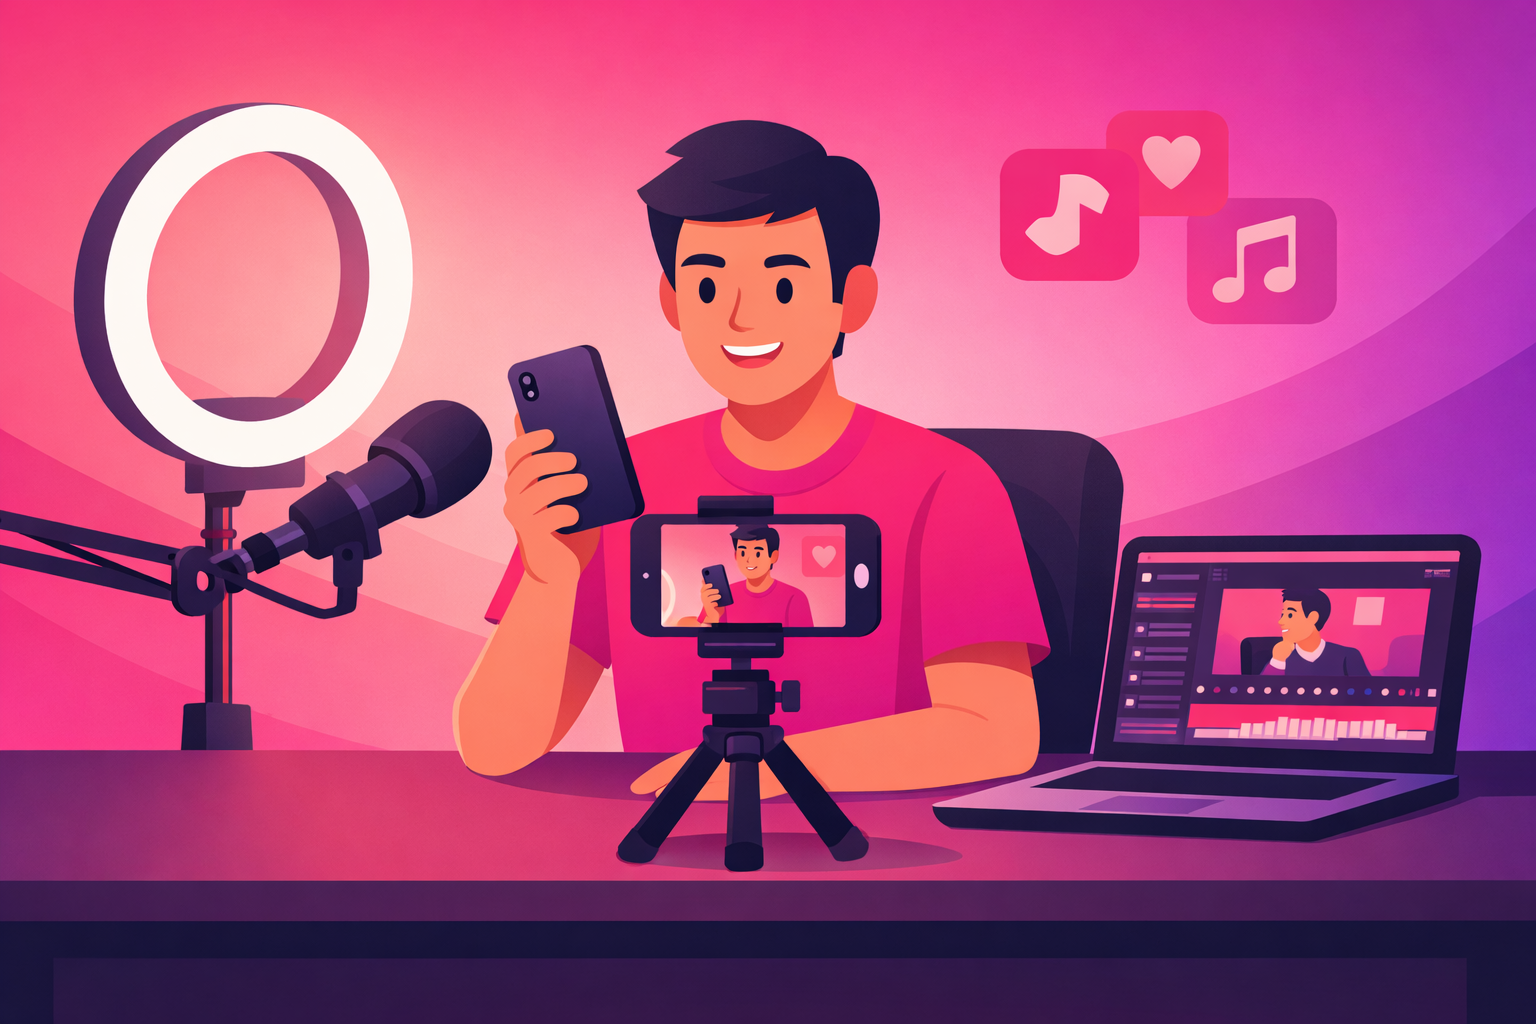
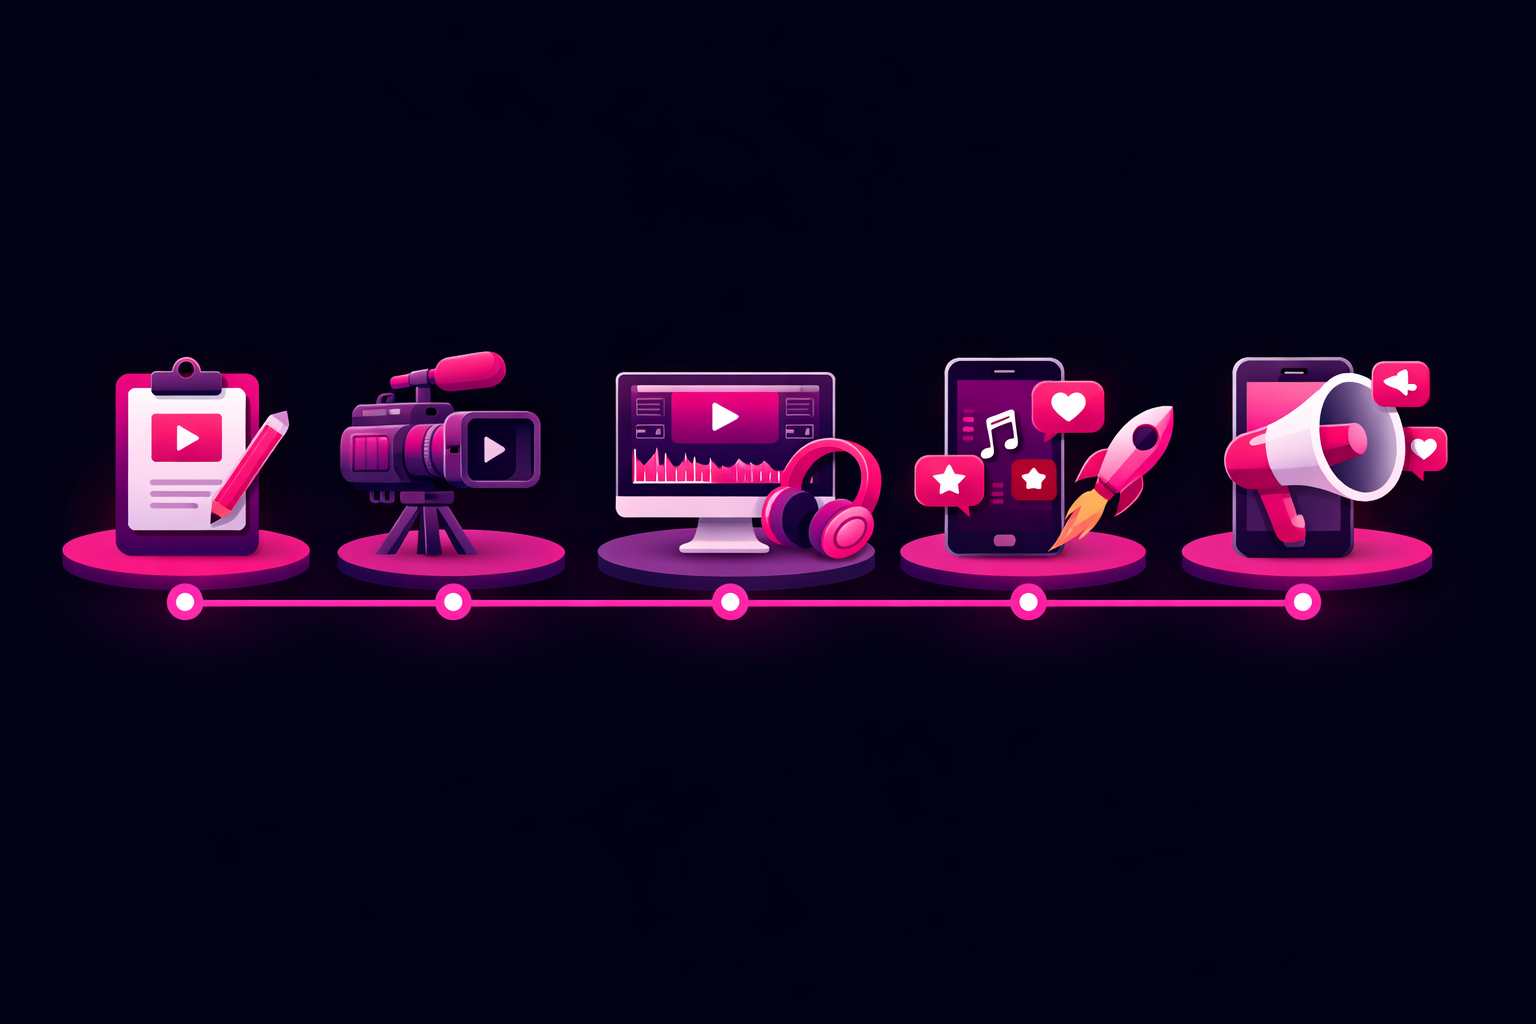
Most tech creators do not get stuck on what to say. They get stuck on the production gap between the idea and the upload. The phone audio sounds boxy. The screen recording lags the cursor. The lighting flattens the product. By the time the bit is cut, the energy is gone and the post lands at average. None of these problems are about talent or budget. They are all production decisions with known solutions, and the creators who film tech on TikTok profitably for years almost all run the same lean workflow underneath.
This guide is that workflow. The gear list, the framing rules, the audio choices, the screen recording pass, the take count, and the edit rhythm used by tech creators who ship two to four clips a week without burning out. No DSLR. No gimbal. No second person behind the camera. Just the production decisions that separate clips that travel from ones that drift, plus the honest notes on what does not matter that the camera-gear industry would prefer you keep buying anyway.
Pair this with our full TikTok for tech creators guide for the strategic framework, and our tech content ideas library for the bits to plug into the production system below.
The honest production hierarchy:
- Audio. The single biggest production difference between a tech clip that lands and one that does not. Solve this first.
- Screen capture quality. A laggy or low-resolution screen recording will tank a tutorial faster than any other mistake.
- Framing and lighting. Soft front light beats any camera upgrade. A window is usually enough.
- Camera quality. Last on the list on purpose. A smartphone from the last three years is already past the point of diminishing returns for tech TikTok.
What's Inside
- 1. The Lean Tech Creator Kit Under $200
- 2. Audio First: The Most Common Reason Tech Clips Flop
- 3. Lighting Tech Videos Without a Studio
- 4. Framing, Eyeline, and the Vertical Safe Zone
- 5. Screen Recording: Phone, Desktop, and AI Tools
- 6. B-Roll for Tech: Product Shots, Hands, and Inserts
- 7. Take Count: Why the Third Take Is Almost Always Best
- 8. Edit Pacing for Tech: Tight Cuts, Strategic Zooms
- 9. Captions: When to Use Them, When to Skip Them
- 10. The 60-Minute Tech Shoot Workflow
- 11. Seven Production Mistakes That Flatten Tech Clips
- 12. When to Put Money Behind a Tech Clip
- Frequently Asked Questions
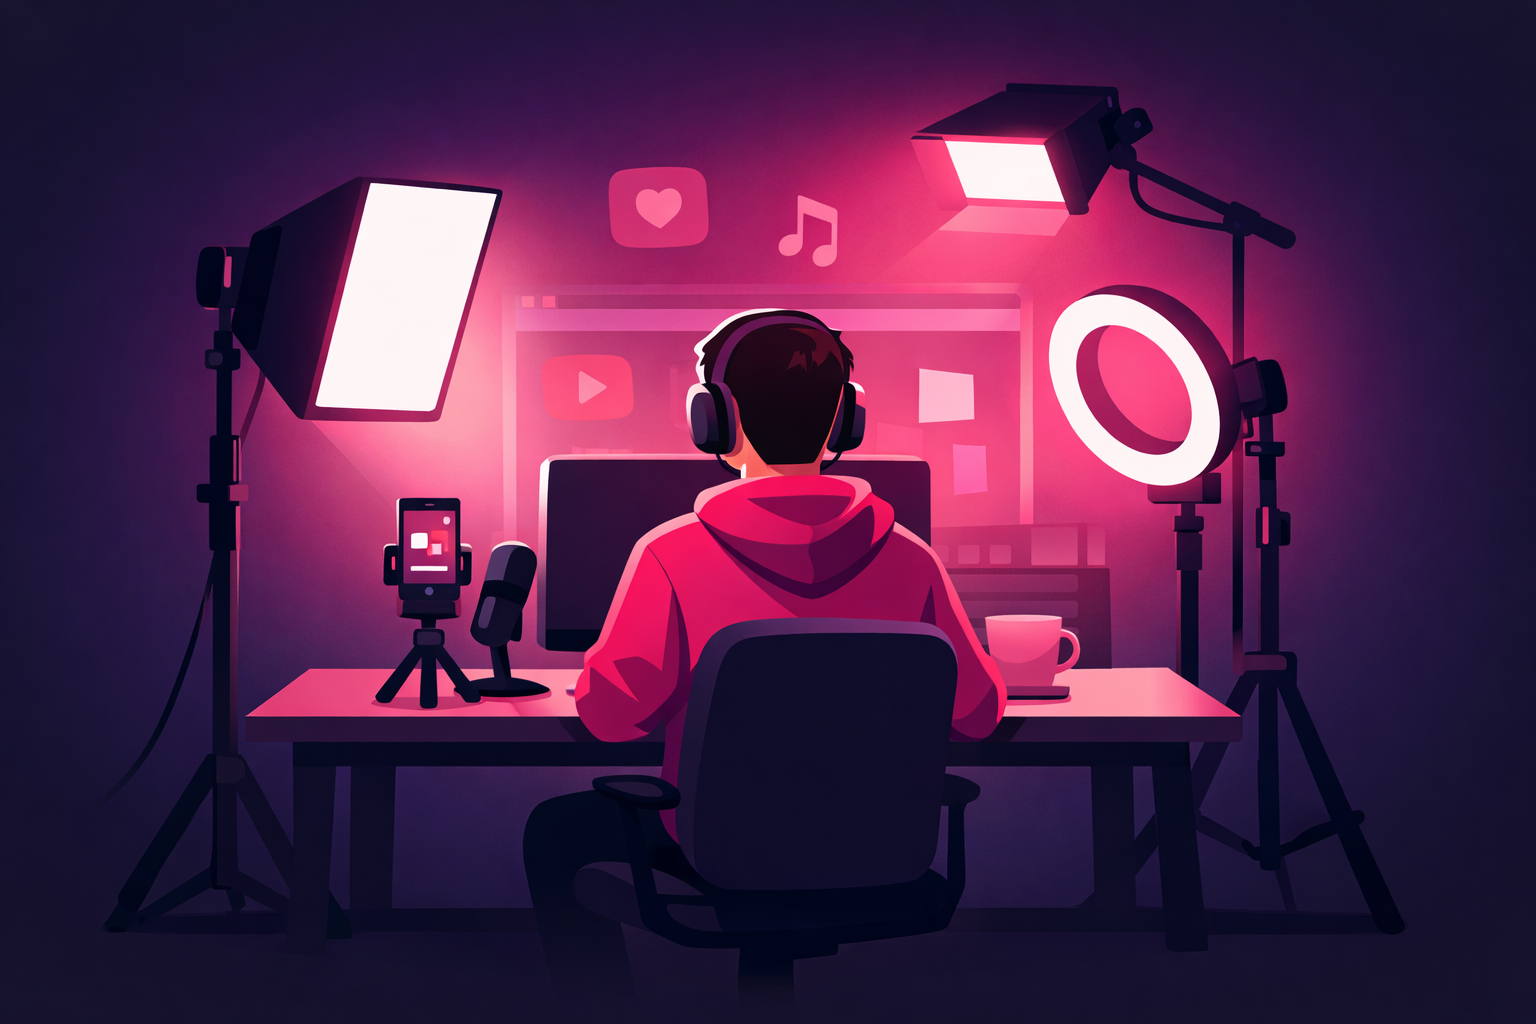
1. The Lean Tech Creator Kit Under $200
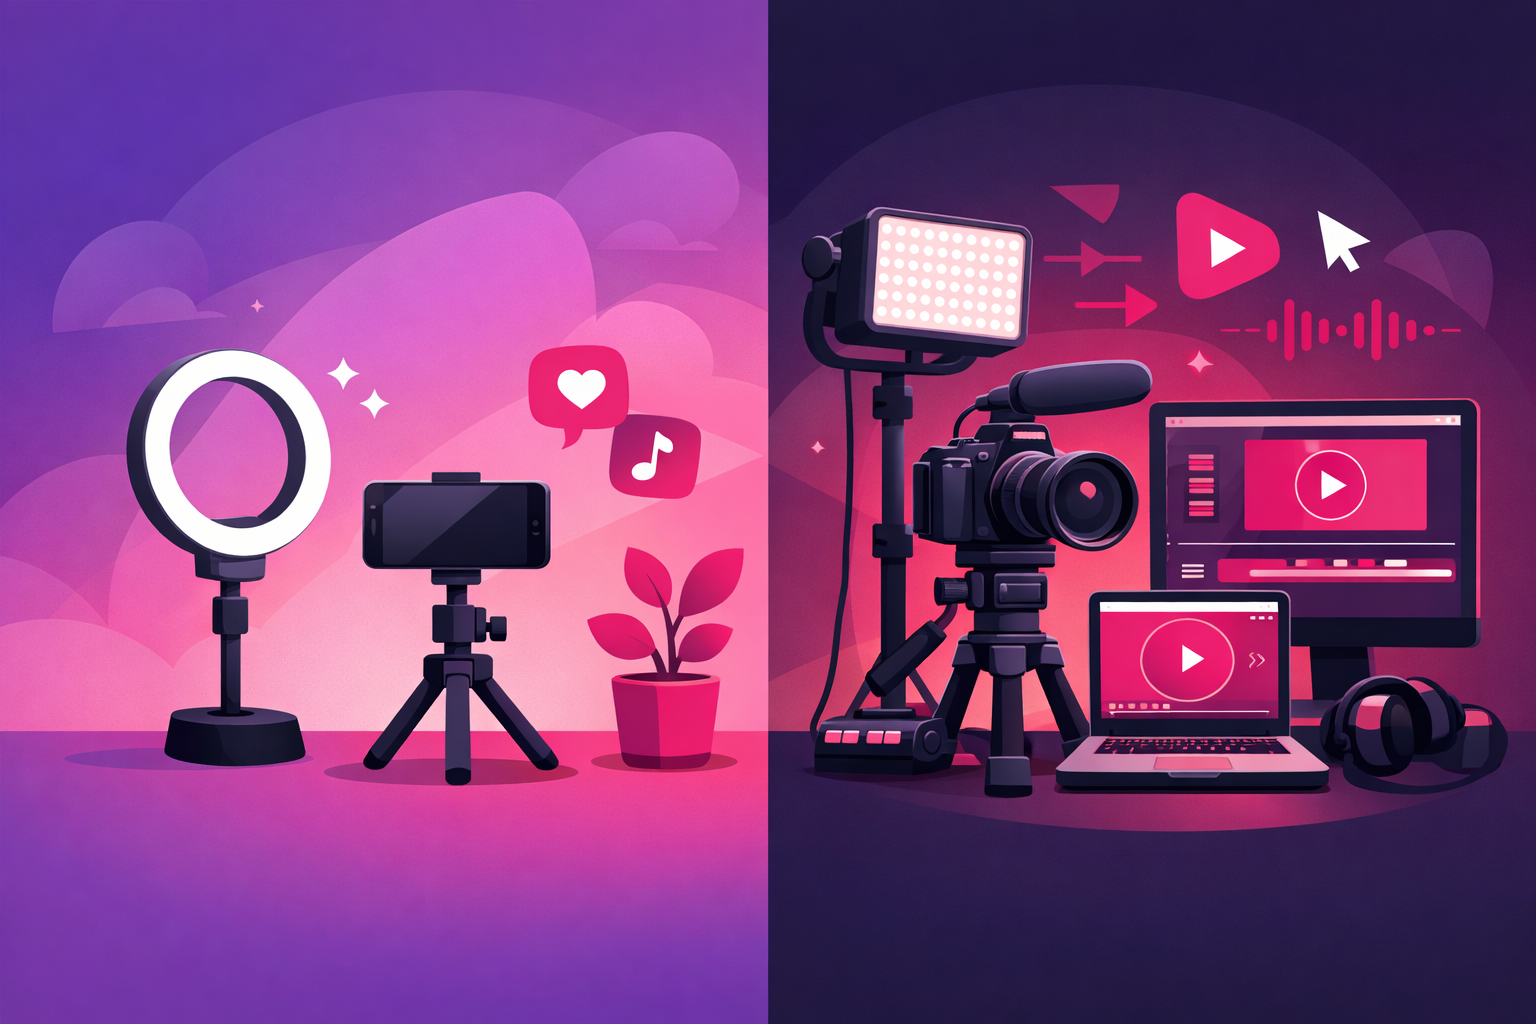
Almost every tech creator earning a real audience on TikTok in 2026 films with under $200 of gear plus a phone they already own. The kit is short and every piece is on the list for a specific reason. Add nothing extra for at least your first 90 days.
- Smartphone with a recent rear camera. Any iPhone from the last three years or any flagship Android. The rear camera always outperforms the front. Film yourself using the rear with a screen mirror app or a small monitor if you cannot frame blind.
- Phone tripod with vertical mount. Around $25. Anything that holds the phone in portrait at chest height without wobbling. Avoid mini tabletop tripods; they put the eyeline below the chin and flatten the face.
- Clip-on lavalier or USB condenser microphone. A wireless lavalier like the Rode Wireless ME ($150) or a wired Boya M1 ($20) for talking head clips. A USB condenser like the Maono PD200X ($60) for desk-based screen demos. Either is fine. The phone's built-in mic is not.
- One soft light source. A 10-inch ring light ($25), a small LED panel with a softbox ($45), or a large north-facing window. One source is enough for almost every tech setup.
- Screen recording software. Native iOS, native Android, or OBS on desktop. All free. Loom is fine for context but not for the final cut because the watermark and frame rate cap will hurt retention.
- Editor. CapCut (free) or Descript ($16/month) cover 95 percent of tech edits. TikTok's native editor handles the rest. Skip Premiere unless you already live in it.
Everything else is optional and most of it is a distraction. No gimbal, no external recorder, no second camera. If you are still in your first year and the kit above feels cramped, the answer is more reps with the same kit, not more gear.
2. Audio First: The Most Common Reason Tech Clips Flop
TikTok's recommendation system reads retention more than any other signal. Bad audio breaks retention in the first three seconds because the brain works harder to parse muddy sound and the viewer scrolls away before consciously deciding to. Almost every tech clip that underperforms can be diagnosed by listening with headphones on at half volume; if you cannot make out every word cleanly, the audience cannot either.
Three audio setups cover every tech filming scenario:
- Talking-head reviews: Lavalier mic clipped six to eight inches below the chin, hidden under the shirt or in a fold. Test playback before every shoot for fabric rustle.
- Desk-based screen demos: USB condenser on a boom arm in front of the keyboard, four to eight inches from the mouth. Record at 48kHz mono. Mute the noise floor from a fan or air conditioner if you can hear it on headphones.
- Voiceover over screen recording: Record voice separately in a quiet room on the lavalier or condenser, then lay the audio over the screen capture in the edit. This is the cleanest path for tutorials and AI tool demos.
Avoid the most common audio mistake: using the phone's built-in microphone while holding the phone at arm's length. Voice arrives boxy and the room reverb does the rest. A $20 wired lavalier solves this. If budget is genuinely zero, record voice on the phone's native voice memo app in a closet with clothes hanging around you, then sync in the edit.
3. Lighting Tech Videos Without a Studio
Tech videos have one lighting problem most other verticals do not: the product itself is often emitting light. A phone screen, a monitor, an LED on a router. If the room is too dim, the screen blows out and the viewer cannot read what you are showing them. If the room is too bright, the product looks washed out and lifeless. The fix is a single soft front light at slightly above eye level, tuned to roughly match the brightness of the screen you are demoing.
The basic three-point lighting setup adapted for tech TikTok looks like this:
- Key light: One soft source at 45 degrees from the face, slightly above eye level. A 10-inch ring light at three feet of distance is enough for almost any desk-based shot.
- Fill light (optional): A second softer source on the opposite side of the face at half the intensity. Only needed if the room has hard shadows. A white wall or a sheet of foam board reflects the key light and is free.
- Back light (rarely needed for tech): A small light behind you to separate you from the background. Skip this unless the background is dark and you look like you are floating.
Avoid the two most common lighting traps. First, overhead room light: it carves dark sockets under the eyes and makes the face look tired. Second, window-behind-the-back: the sensor exposes for the window and your face goes black. Always face the light, never sit opposite it.
4. Framing, Eyeline, and the Vertical Safe Zone
TikTok's UI lives in the bottom third of the frame. Captions, the username, the engagement icons, and the now playing card all eat that space. Anything important in the bottom third of your shot gets covered. Frame all critical content in the top two-thirds, with the face in the upper-middle of the frame and the chin at roughly 40 percent from the top.
Three framing rules for tech clips:
- Phone in portrait, never landscape. Cropped landscape footage on TikTok looks like a YouTube re-upload and the algorithm reduces reach on detected horizontal-origin footage.
- Lock the camera on a tripod. Handheld tech reviews look amateurish fast. The product is the visual interest; the camera should be still.
- Show the product in the same frame as your face for at least the first second. The brain links the speaker to the topic faster when both are on screen together. Then cut to a tight insert of the screen or product.
Eyeline matters more on TikTok than on any other platform. Look directly into the lens, not at the screen reflection. Viewers feel addressed when the eyeline locks; they feel ignored when it drifts. Tape a tiny dot on the lens to give your eye a target if you keep looking off.
5. Screen Recording: Phone, Desktop, and AI Tools
Screen recording is where most tech creators bleed quality. The instinct is to record voice and screen at the same time, but the result is almost always cursor lag, a cluttered desktop in the background, or a frame rate drop right when something interesting happens. The fix is a two-pass workflow: record clean screen capture first, then record voiceover over the cleaned footage.
- iPhone screen recording. Settings > Control Center > add Screen Recording. Long-press the button to enable microphone if you need it; leave it off for the clean pass. Recording defaults to 1080p at 60fps which is plenty.
- Android screen recording. Native on Android 13+. For older devices, use AZ Screen Recorder. Set output to 1080p at 60fps minimum. Hide notifications and mute the system before recording.
- Desktop screen recording. OBS Studio (free) for full control. macOS Quicktime is simpler and ships clean footage. Set the capture region to a 9:16 portrait window or record full screen and crop in the edit. 60fps is the floor for AI tools where cursor speed matters.
Three rules for screen content that holds attention:
- Zoom in 1.3 to 1.5x during the cut on the active UI element. The viewer is watching on a phone; what looks readable on a 27-inch monitor disappears at 6 inches.
- Hide identifying tabs, bookmarks, and account names before recording. Privacy plus a cleaner visual surface.
- Mouse moves should be deliberate, not floaty. Move, pause, click, move. Continuous cursor wander burns attention. If you cannot control the cursor that tightly live, slow the playback to 0.8x in the edit.
6. B-Roll for Tech: Product Shots, Hands, and Inserts
B-roll is the secret weapon that separates a polished tech clip from a static talking head. Tight inserts of fingers on a keyboard, a close-up of a phone case texture, a scroll across a settings menu. These shots refresh the visual every three to five seconds and reset attention without changing topic.
A reliable b-roll set for any tech review or tutorial:
- One tight product close-up. Macro detail. The lens of a camera, the USB-C port of a laptop, the texture of a keycap. Fills the screen.
- One hands-on-product shot. Fingers tapping, plugging, unboxing. Hands on screen humanize the gear faster than any voiceover line.
- One environment shot. The desk, the box, the workflow context. Two seconds maximum. Sets the scene without consuming runtime.
- One screen capture insert. For software reviews, a settings menu, a spec sheet, a side-by-side. Always zoom in 1.3x during the cut.
Shoot all b-roll in one batch at the end of the main session, while the gear is still on camera. Five minutes of b-roll covers three to four clips worth of inserts.
7. Take Count: Why the Third Take Is Almost Always Best
Tech delivery does not sharpen on the first take. The first run is rehearsal; you are listening to yourself and self-correcting. By the third take, the pacing tightens, the technical phrasing comes out cleaner, and you stop reaching for filler words. Plan for three to five full takes per clip, plus three dedicated takes of just the hook.
The takes pattern that works:
- Takes 1-3 of the hook only. Same first three seconds, three different openers. Pick the strongest in the edit.
- Takes 1-3 of the full clip. Run the whole script back to back. No playback between takes; that is what kills momentum. Mistakes are fine; keep going.
- Optional take 4-5. Only if a beat genuinely missed. Otherwise, the third take is the keeper.
Reset between takes by stating the premise out loud as if explaining the bit to a friend in the next room. The premise restatement primes the delivery without re-scripting from memory.
8. Edit Pacing for Tech: Tight Cuts, Strategic Zooms
Tech clips benefit from sharper edit pacing than most other niches. Tutorials need a cut at every step. Reviews need a cut at every claim. Demos need a cut at every UI element referenced. The rule is one cut for every distinct beat, with half a second of dead air trimmed around each line.
A tested edit sequence for a 45-second tech clip:
- Cut frame-tight on every consonant at the end of each sentence. Listen on headphones and trim until the next sentence starts on the breath.
- Insert a screen recording or b-roll the moment a UI element, product detail, or measurement is referenced.
- Add a 1.3 to 1.5x zoom on screen recordings of small text or settings menus during the cut.
- Watch the full draft at normal speed before adding overlays. Pacing problems are easier to feel than to see.
- Add one text overlay on the hook and one on the final verdict. Skip text overlays on everything in between.
Avoid effects-heavy edits. Whip-pans, glitches, RGB flashes, and animated stickers all signal content-creator energy and tech viewers reject that aesthetic faster than almost any other niche. Hard cuts and clean zooms are the visual vocabulary of credible tech content in 2026.
9. Captions: When to Use Them, When to Skip Them
Captioning every line on a tech clip is a common reflex and almost always the wrong choice. Full-script captions train the viewer to read instead of watch, retention collapses, and the algorithm reads the watch-through drop as a quality signal. Caption the hook, caption the verdict, leave the rest in the audio.
The exceptions where full captions help:
- Voice-only screen recording tutorials. There is no on-screen face for the viewer to read, so captions carry the bit.
- Step labels in a multi-step tutorial. A small numbered overlay like "Step 1: open Settings" helps the viewer track progress, but it is a label, not a transcript.
- Technical terms the viewer might mishear. Product names, API endpoints, version numbers. Flash these on screen for one second so the viewer can verify the spelling.
10. The 60-Minute Tech Shoot Workflow
Treat every clip as a 60-minute production block. Tech creators who post consistently for years almost all run a version of this exact rhythm, not a more elaborate one. The constraint is what produces output; without a time box, every clip drifts to three hours and you stop posting.
- Minute 0 to 5: Write the hook and beat sheet. One sentence for the hook, three to five bullets for the body, one sentence for the verdict. Read it out loud once.
- Minute 5 to 10: Set up the room. Tripod up, mic clipped or boomed, light on, screen mirror running. Mark the floor.
- Minute 10 to 15: Record the screen capture pass. Clean, no voice. For phone demos, screen record in portrait. For desktop, record the relevant window.
- Minute 15 to 25: Film the hook three times, then the full clip three times. Back to back, no playback. Reset between takes by restating the premise.
- Minute 25 to 30: Shoot b-roll. Five minutes of tight product close-ups, hands, environment shots, screen inserts. Get everything you might need.
- Minute 30 to 50: Edit in CapCut or Descript. Pick the strongest hook, the strongest body take. Cut frame-tight. Add screen recordings on every claim. Add one overlay on the hook and one on the verdict.
- Minute 50 to 55: Caption, cover image, upload. Two-sentence caption maximum, three hashtags including one lane tag (#techtok, #ai, #appreview). Cover frame is a face-forward moment from the hook.
- Minute 55 to 60: Set the publish window and walk away. Do not refresh. The first three hours of organic distribution are not where the work is.
Run this three to four times a week and you have a sustainable tech account. Skip the b-roll batch on quick-tip clips and the time box collapses to 35 minutes.
11. Seven Production Mistakes That Flatten Tech Clips
- Using the phone microphone at arm's length. The single most-common failure. Always close-mic with a lavalier or condenser.
- Recording voice and screen at the same time. Cursor lag and dead air accumulate. Always record screen and voice in separate passes.
- Backlighting your face with a window. Window-behind turns the face into a silhouette. Always face the light source.
- Forgetting the 1.3x zoom on screen inserts. Unzoomed UI is unreadable on a phone screen. Always zoom in during the cut.
- Captioning every line. Trains the viewer to read instead of watch. Caption only the hook and the verdict.
- Whip-pan and glitch effects. Reads as content-creator energy. Tech viewers prefer hard cuts and clean zooms.
- Filming horizontal and cropping vertical. The algorithm flags letterboxed footage. Always shoot vertical from the start.
12. When to Put Money Behind a Tech Clip
Solid production lifts the ceiling of a tech clip, but it does not change which clips the algorithm chooses to push. The clearest signal that a tech clip can travel is organic momentum in the first 24 hours. Promoting cold or average clips wastes budget. Promoting clips that have already cleared a momentum threshold can multiply reach five to twenty times, and tech audiences convert at higher rates than nearly any other niche because the viewer is already in research mode.
A practical rule: if a tech clip clears your account average completion rate by 20 percent and earns saves on 1 percent or more of views within the first 24 hours, it is a candidate for paid amplification. This is exactly the strategy Viryze was built for. Instead of spraying budget across every upload, our selective amplification approach pushes the clips that have already cleared an organic signal threshold and auto-shifts spend toward the audience segments responding fastest. For tech creators that usually means surging budget into the developer, productivity, or buyer-intent segments that resonated with the bit, which is also where affiliate clicks and brand-deal pitches start gaining traction.
For the broader strategic frame, read our complete TikTok advertising guide and our deep-dive on Spark Ads for creators.
You filmed the review. Do not let it die at 60K views.
The production work above is what makes a tech clip watchable. The amplification work is what decides whether 80,000 people see it or eight million. Most tech creators only have a handful of clips a year that earn paid promotion, and the trending window for each is short. Recognize the signals fast and pour budget behind the clip while the momentum is hot.
Viryze was built for exactly this moment. We amplify the clips that already proved they can travel, auto-shift budget toward the audience segments responding fastest, and report results in plain English so you can keep filming instead of staring at Ads Manager.
See how Viryze amplifies your best tech clipsFrequently Asked Questions
What is the best filming setup for a TikTok tech creator in 2026?
A modern smartphone, a vertical phone tripod at chest height, a clip-on lavalier or USB condenser microphone, and a soft front light or large window. Total cost is under $200 and outperforms almost every DSLR-heavy setup because audio clarity and steady framing are the two things the algorithm reads through retention.
How do you record a software or AI tool demo without losing clarity?
Record screen capture in a separate pass with no voice. Use native iOS or Android screen recording for phone apps, and OBS or macOS Quicktime at 60fps for desktop. Layer voice over the screen recording in the edit so the cursor never lags the explanation, and zoom in 1.3 to 1.5x during the cut so the UI is readable on a phone.
How long should a tech TikTok video be in 2026?
For quick tips and hidden settings, 15 to 25 seconds wins. For software reviews and AI tool demos, 30 to 60 seconds is the sweet spot. Multi-step tutorials can run 60 to 90 seconds because retention compounds when the viewer expects a clear payoff at the end. Past 90 seconds the hook needs a stakes question in the first three seconds.
Do tech creators need to show their face on camera?
It is not required, but it helps follow conversion. The hybrid pattern that wins on tech TikTok in 2026 is two to four seconds of face-to-camera hook followed by a screen recording or product close-up that carries the rest. Faceless screen-only accounts can grow, but follow rates lag because viewers trust voices and faces faster than they trust a cursor.
What editor do most TikTok tech creators use?
CapCut and Descript cover almost every tech use case. CapCut is free and ships frame-tight vertical edits in under 20 minutes. Descript is excellent for tutorial-heavy content because text-based editing lets you cut filler words and tighten pacing in seconds. Premiere and DaVinci Resolve are over-tooled for short-form tech and slow the workflow without improving the finished clip.
What microphone should a tech creator buy first on TikTok?
For talking-head reviews, the Rode Wireless ME wireless lavalier at around $150 is the workhorse. For desk-based screen demos, a USB condenser like the Maono PD200X at $60 covers everything. If the budget is genuinely zero, the wired Boya M1 lavalier at $20 outperforms the phone microphone by a wide margin.
When should I run paid promotion on a tech clip?
Only on clips that already show organic momentum. A practical rule: if a video clears your account average completion rate by 20 percent and earns saves on 1 percent or more of views in the first 24 hours, it is a candidate for amplification. Tech audiences convert at higher rates than nearly any other niche, so services like Viryze are built for selective amplification on already-warm clips rather than promoting every upload by default.
Keep Reading

Head of Creator Success at Viryze
TikTok growth strategist helping creators reach their first 100K followers through data-driven promotion strategies.