
You know your subject cold. You could talk about it for hours. But every time you hit record, something feels off—the lighting is weird, you ramble past the 60-second mark, or the final video just looks... flat.
Here's the truth most education creators learn the hard way: knowing your topic is only half the battle. The other half is knowing how to film it for a platform where people scroll past anything that doesn't grab them in the first second.
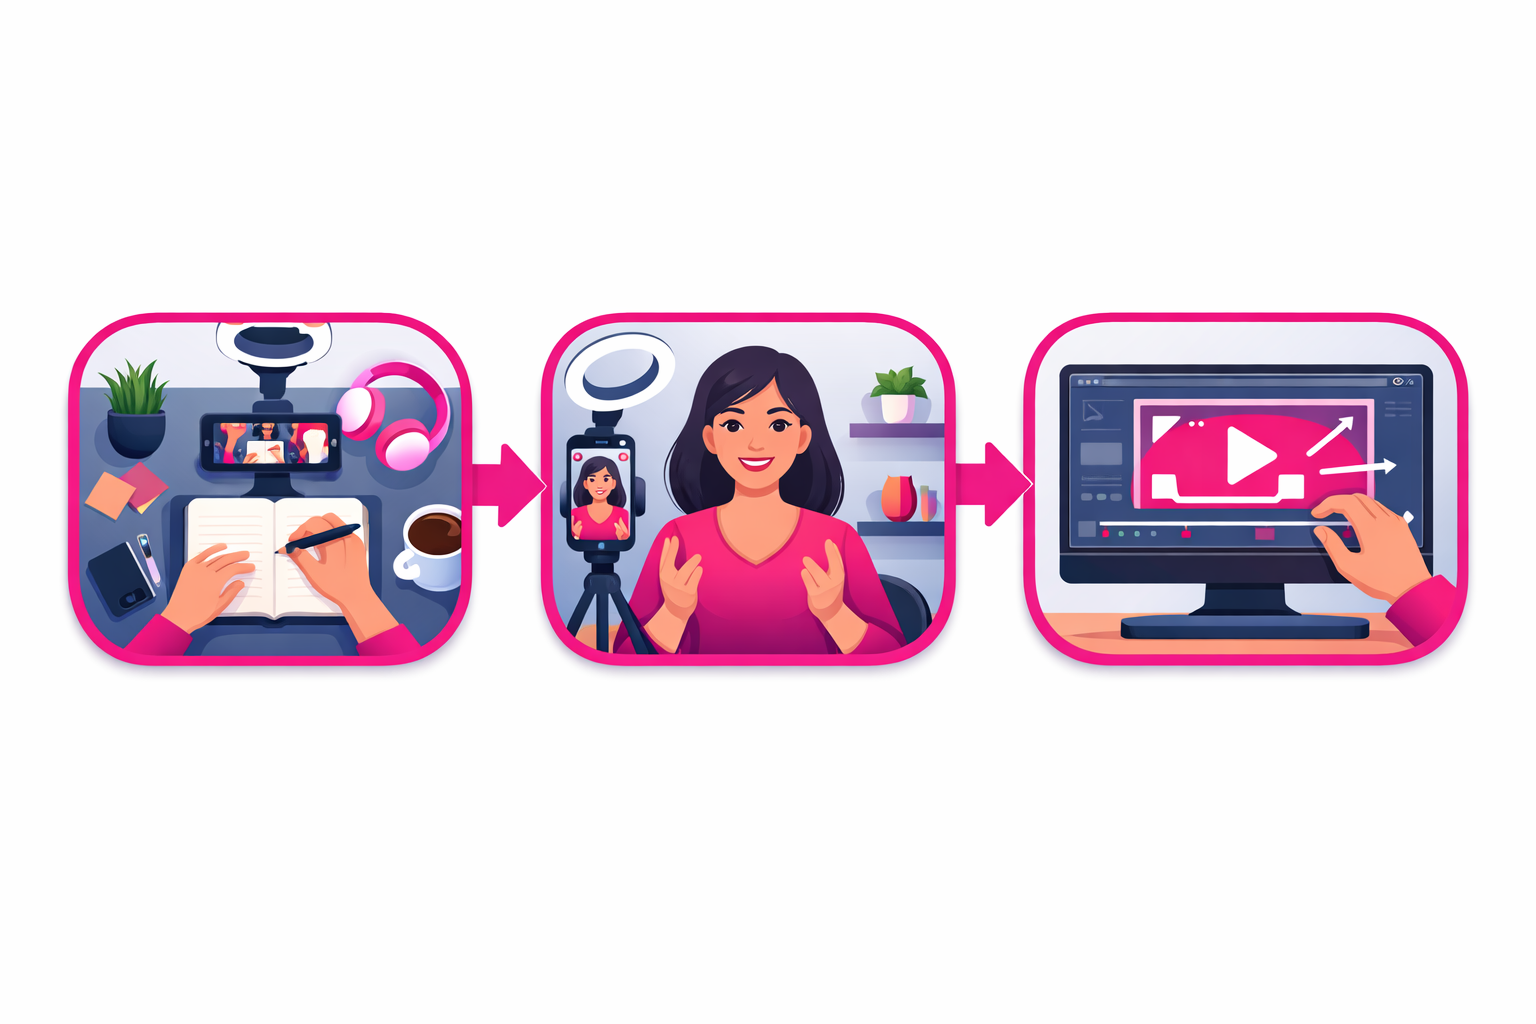
This guide breaks down the exact filming techniques used by education creators with hundreds of thousands of followers. From your physical setup to your scripting process to the editing tricks that keep completion rates high—every step is covered below.
Why filming quality matters for education content:
- Completion rate is the #1 signal TikTok uses to push videos to more viewers
- Education videos with captions get 40% more watch time than those without
- Visual aids increase save rates by 2-3X (saves are TikTok's strongest ranking signal)
- Good audio quality alone can double your average view duration
What You'll Learn
Step 1: Set Up Your Filming Space
You don't need a studio. You need a consistent, clean background and reliable lighting. That's it. Most top education creators film in a corner of their bedroom, a home office, or even a kitchen table.
Background
Choose a spot with a simple background that won't distract from your teaching. A plain wall, a bookshelf, or a tidy desk all work well. Whatever you choose, film there every time. Consistency helps viewers recognize your content instantly while scrolling.
Lighting
Natural window light is the best free option. Sit facing the window so light hits your face evenly. If you film at night or your space lacks natural light, a ring light ($25-40) placed directly behind your phone eliminates shadows and keeps your face well-lit.
Quick lighting checklist:
- • Light source should be in front of you, not behind you
- • Avoid overhead-only lighting (creates harsh shadows under your eyes)
- • Test your setup by recording a 5-second clip before filming
- • Keep lighting consistent between filming sessions
Phone Mounting
Handheld footage looks shaky and unprofessional. A basic phone tripod ($15-25) solves this completely. For talking-head videos, position your phone at eye level. For overhead demonstrations, use a tripod with an adjustable arm or mount your phone above your desk pointing straight down.
Step 2: Script Your Content for Short-Form
Education content is one of the few TikTok categories where scripting actually helps. Unlike vlogs or comedy where spontaneity works, your viewers need you to be clear, concise, and structured. A script prevents rambling—the number one reason education TikToks underperform.
The 3-Part Script Formula
Every education TikTok should follow this structure:
- 1. Hook (first 1-2 seconds): Open with a surprising fact, a question, or a bold claim. “Most people get this wrong about...” or “Here's something your teacher never told you...”
- 2. Core lesson (20-50 seconds): Deliver 2-3 key points. No more. Each point should be one or two sentences. If you can't explain it in two sentences, break it into a separate video.
- 3. Takeaway (last 5-10 seconds): Summarize the main insight or give viewers a clear next step. End with a reason to follow: “Follow for more [topic] breakdowns.”
Keep your script under 200 words for a 60-second video. Read it out loud before filming. If it takes longer than your target duration, cut the weakest point rather than speaking faster.
For simpler topics, bullet points work fine. Write three to five key phrases and speak naturally around them. But for complex explainers or myth-busting videos, a word-for-word script keeps you tight and prevents the “let me start over” cycle that wastes filming time.
Step 3: Choose Your Camera Angles
The angle you choose changes how viewers absorb your lesson. Different types of educational content call for different setups, and the best creators switch between angles even within a single video.
Talking Head (Eye-Level, Front-Facing)
Best for: explanations, storytelling, opinion pieces, myth-busting. Position your phone at eye level, about arm's length away. Look directly into the camera lens (not the screen) to create eye contact with your viewer. This angle builds trust and feels like a one-on-one conversation.
Overhead (Bird's-Eye View)
Best for: writing demonstrations, drawing diagrams, showing physical materials, math problems, art tutorials, and science experiments. Mount your phone directly above your workspace pointing down. Use a contrasting surface (white paper on a dark desk, or a whiteboard) so your hands and materials stand out clearly.
Screen Recording
Best for: software tutorials, slide-based lessons, website walkthroughs, and data demonstrations. Use your phone's built-in screen recorder or a tool like OBS Studio on desktop. Add a voiceover narration and consider including a small camera overlay of your face in one corner to maintain a personal connection.
Mixing Angles
Top education creators rarely stick to a single angle for an entire video. A common pattern: start with a talking-head hook, cut to an overhead demo for the core lesson, then return to talking-head for the takeaway. Each cut resets the viewer's attention and boosts completion rates.
Step 4: Use Visual Aids That Boost Retention
Education content lives and dies by visual aids. A talking head explaining a concept is fine. A talking head showing the concept with a prop, diagram, or on-screen graphic is significantly better. The difference shows up directly in your save rate—the metric TikTok weights most heavily.
Physical Props
Hold up books, show real objects, use a whiteboard, or write on paper. Physical props feel authentic and give viewers something concrete to focus on. A history creator holding a replica artifact, a science creator demonstrating with household chemicals, or a math creator writing on a whiteboard—these tangible elements outperform text-only explanations nearly every time.
Digital Overlays
Use TikTok's or CapCut's text and sticker tools to add bullet points, labels, arrows, or diagrams on screen during editing. Time them to appear exactly when you mention each point. This reinforces your verbal explanation and helps visual learners follow along.
Tablet Drawing
If you have a tablet (even a basic one), drawing diagrams or writing equations in real time is one of the highest-performing education formats on TikTok. Record your tablet screen while narrating. The combination of seeing something being built and hearing the explanation creates a powerful learning experience that viewers save and share.
Step 5: Get Your Audio Right
Bad audio is the fastest way to lose an education viewer. Unlike entertainment content where visuals can carry a video, education content depends on clear speech. If viewers can't understand you, they scroll.
Audio essentials:
- External microphone: A $20 clip-on lavalier mic makes your audio sound dramatically better than your phone's built-in mic. Plug it in and clip it near your collar.
- Quiet environment: Turn off fans, close windows, and film when ambient noise is low. Background noise competes with your voice and makes it harder for viewers to follow your lesson.
- Consistent volume: Stay the same distance from your mic throughout the video. Moving closer and farther creates volume spikes that are distracting.
- Always add captions: 80% of TikTok users watch with sound off at least some of the time. Use TikTok's auto-caption feature or CapCut's more accurate caption tool.
If your audio quality is poor on a particular recording, consider re-recording the voiceover separately and layering it in during editing. A clean voiceover over slightly rough visuals performs better than great visuals with muffled audio.
Step 6: Edit for Maximum Watch Time
Editing is where good educational content becomes great educational content. The goal is simple: remove everything that doesn't serve the lesson or hold the viewer's attention.
Jump Cuts
Cut out every pause, “um,” breath, and moment of dead air. Education creators who use jump cuts every 3-5 seconds see significantly higher completion rates. Each cut creates a subtle visual reset that re-engages the viewer's attention.
Zoom Effects
A slight zoom-in (10-20%) on key moments emphasizes important points and creates visual variety without changing your actual camera position. Most editing apps let you keyframe a slow zoom that feels natural rather than jarring.
Captions and Text
Add captions to every video. Beyond accessibility, captions reinforce your spoken words visually, which helps viewers retain information. Use bold or colored text to highlight key terms. Position captions in the center or lower-third of the frame, avoiding the edges where TikTok's UI overlaps.
Pacing
If a section of your video feels slow, speed it up slightly (1.2-1.5X) rather than cutting it entirely. This works especially well for demonstrations where the viewer needs to see the full process but doesn't need to watch it in real time. Match your pacing to your content: fast for exciting reveals, normal speed for complex explanations.
Best Filming Formats for Education Creators
Not every educational topic works with the same format. Here are the filming formats that consistently perform best, matched to the types of content they suit.
The Quick Explainer
Duration: 15-30 seconds
Angle: Talking head
Best for: Single facts, definitions, quick tips. Open with “Did you know...” and deliver one clear point. These are the easiest to batch-film and they attract new followers because they're highly shareable.
The Step-by-Step Tutorial
Duration: 60-90 seconds
Angle: Overhead + talking head mix
Best for: How-to content, problem-solving, processes. Number each step on screen. These videos drive the highest save rates because viewers bookmark them to reference later.
The Myth Buster
Duration: 30-60 seconds
Angle: Talking head with text overlays
Best for: Correcting misconceptions, challenging common beliefs. State the myth, pause for dramatic effect, then deliver the truth with evidence. These generate the most comments and shares.
The Whiteboard Breakdown
Duration: 60-120 seconds
Angle: Overhead or side-angle on whiteboard
Best for: Complex concepts, comparisons, processes with multiple parts. Build the diagram or mind map in real time while narrating. Viewers stay because they want to see the completed picture.
The Screen-Share Walkthrough
Duration: 30-90 seconds
Angle: Screen recording + face overlay
Best for: Software tutorials, website demonstrations, data presentations. Add a small circle-cropped camera feed of your face in the corner to maintain personal connection while walking through digital content.
Common Filming Mistakes to Avoid
These mistakes kill education TikToks more often than bad content does. The information might be valuable, but these filming errors prevent viewers from sticking around long enough to learn.
Starting too slow
The biggest killer. If your first three seconds are “Hey guys, so today I wanted to talk about...” you've already lost half your audience. Jump straight into the hook. No introductions, no greetings, no throat-clearing.
Trying to cover too much
One video, one idea. If you're explaining three different concepts, make three videos. Viewers save and share focused content. They scroll past overwhelming content. Plus, three videos means three chances to reach new viewers.
Filming in landscape mode
TikTok is vertical (9:16). Always film in portrait mode. Horizontal footage with black bars above and below looks unprofessional and wastes screen space. If you're using screen recordings, crop them to fit vertically or use a split-screen layout.
Ignoring the background
A messy, distracting background pulls focus from your teaching. You don't need a studio, but you do need a clean, consistent backdrop. Even hanging a plain sheet or positioning yourself in front of a bookshelf makes a noticeable difference.
Skipping captions
Education content without captions cuts off the majority of viewers who watch on mute. Auto-captions take two minutes to add and can increase your watch time by 40% or more. No excuse to skip them.
How to Batch Film Educational Content
Batch filming is the secret weapon of consistent education creators. Instead of setting up, filming one video, and tearing down every day, you film multiple videos in a single session. This saves time, keeps your visual style consistent, and builds a content library you can post from over days or weeks.
A batch filming session looks like this:
- 1. Plan 5-10 topics in advance. Write scripts or bullet points for each.
- 2. Set up once. Lighting, tripod, background, microphone—all ready to go.
- 3. Film all videos back-to-back. Change your shirt between every 2-3 videos so they look like different days.
- 4. Edit in batches. Apply the same caption style, colors, and intro format to all videos for brand consistency.
- 5. Schedule posts. Spread them across the week using TikTok's built-in scheduler (saves as drafts with a publish time).
Most successful education creators film once or twice per week and post daily. A two-hour batch session can produce a full week of content, freeing you to focus on your actual expertise instead of constant filming logistics.
Ready to Get Your Education Content in Front of More Learners?
Great filming technique gets you better videos. But reaching the right audience gets you real followers. Viryze helps education creators promote their best content to viewers who are already interested in their topic—using targeted TikTok ads managed entirely for you.
No ads experience needed. No complex setup. Start promoting your education content today and turn great videos into a growing audience.
Frequently Asked Questions
What equipment do I need to film educational TikToks?
A smartphone (any phone from the last 3-4 years), a basic tripod ($15-25), and good lighting (a window or a $30 ring light). A clip-on microphone ($20) is the single best upgrade you can make. You do not need a professional camera or studio.
What is the best camera angle for educational TikToks?
It depends on your content. Talking-head works best for explanations. Overhead is ideal for demonstrations and writing. Screen recording suits digital tutorials. The best creators mix two or three angles in a single video to keep viewers engaged.
How do I keep viewers watching my educational TikToks?
Start with a strong hook in the first 1-2 seconds. Use jump cuts every 3-5 seconds. Add captions. Include visual aids. End with a reason to save or follow. Completion rate is the most important metric for the TikTok algorithm, so every editing choice should serve retention.
Should I use a script for educational TikToks?
Yes. Unlike entertainment content, education videos need to deliver specific information clearly. A script prevents rambling and keeps videos short. Write full scripts for complex topics and bullet-point outlines for simpler ones. Keep scripts under 200 words for 60-second videos.
What editing app should I use for educational TikToks?
CapCut (free) is the most popular choice among education creators. It offers auto-captions, zoom effects, speed ramping, and overlay support. TikTok's built-in editor handles basic cuts and effects. InShot and VN Video Editor are solid free alternatives.
Continue Learning
- TikTok for Education Creators: Complete Growth Guide
The full playbook for building a thriving education channel from scratch.
- Education TikTok Content Ideas: 50+ Videos That Go Viral
Now that you know how to film, find the perfect topics for your next batch session.
- How the TikTok Algorithm Works
Understand the signals that determine which videos get pushed to more viewers.
- The Ultimate Guide to TikTok Growth
Broader growth strategies that apply to education creators and beyond.

Head of Creator Success at Viryze
TikTok growth strategist helping creators reach their first 100K followers through data-driven promotion strategies.