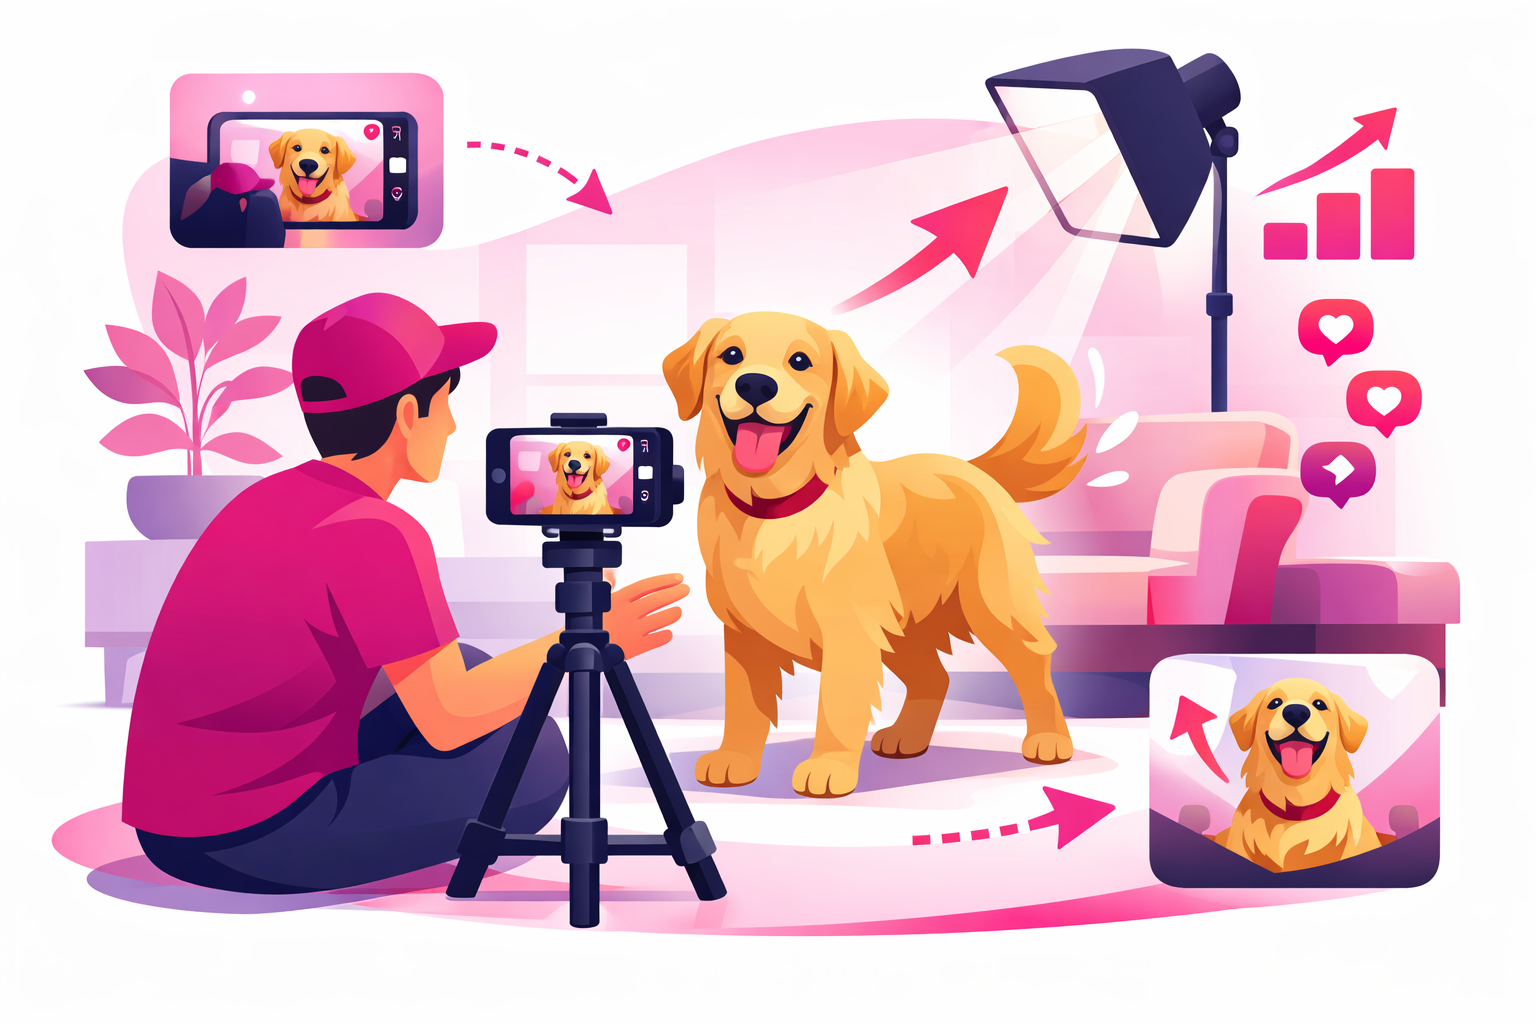
Your pet does something hilarious. You grab your phone. The video comes out shaky, dark, and somehow your pet stopped being cute the second you hit record. Sound familiar?
Here's the thing: the difference between a pet video with 200 views and one with 2 million views is rarely the pet. It's the filming. Top pet creators on TikTok aren't using Hollywood-level equipment. They're using techniques that anyone can learn in an afternoon.
This guide breaks down exactly how to film pet videos for TikTok, from camera angles and lighting to audio and editing. Whether you're filming a dog, cat, bird, or hamster, these techniques work across every pet type and content style.
Why filming technique matters on TikTok:
- Videos with good lighting get 40% higher completion rates than poorly lit content
- Eye-level pet footage receives 2-3x more engagement than top-down angles
- The first 0.5 seconds determine whether a viewer keeps scrolling or stops to watch
- Pet videos under 30 seconds have the highest share rate on TikTok
What You'll Learn
Camera Angles That Make Pet Videos Pop
The single biggest mistake new pet creators make is filming from standing height. When you point your camera down at your pet, you get the same angle every viewer sees in real life. There's nothing special about it.
The fix is simple: get down to their level. This one change transforms your footage from "phone video of my dog" to "professional pet content." Here's how to use different angles strategically.
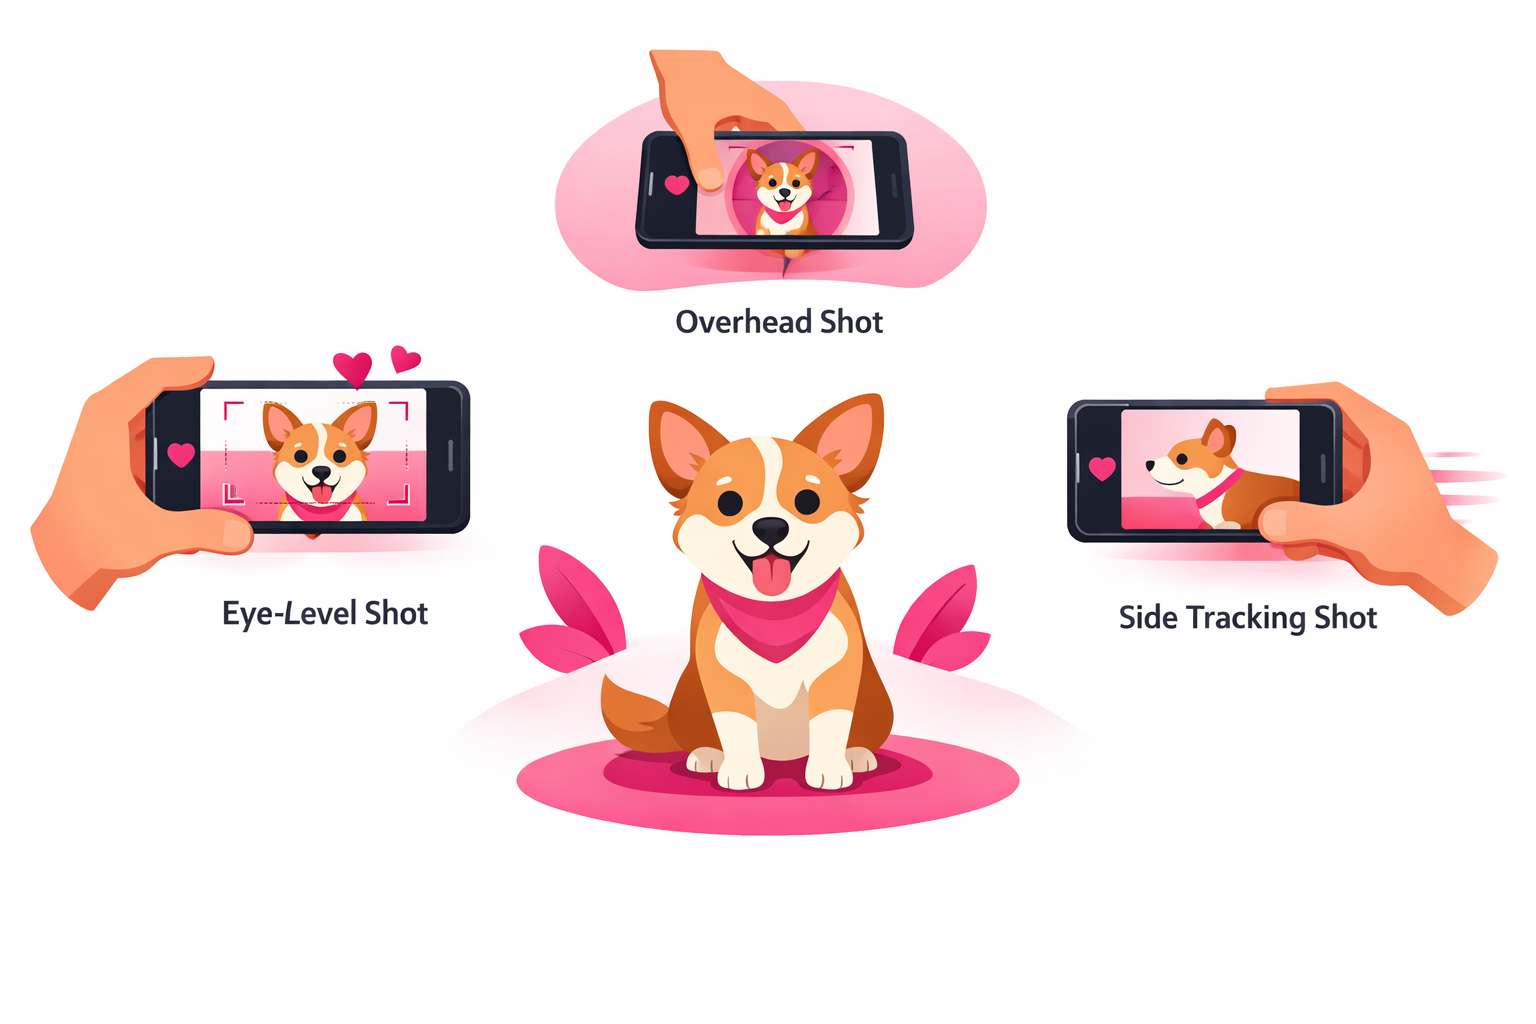
The Pet Filmmaker's Angle Guide
Eye-Level Shot (Your Default)
Get your camera at your pet's eye height. For a small dog, this means lying on the floor. For a large dog, kneeling works. This angle creates an emotional connection because the viewer feels like they're meeting the animal face-to-face. Use this for reaction videos, cute moments, and talking-to-camera content.
Low-Angle Hero Shot
Place your camera slightly below your pet's eye line, pointing up. This makes your pet look powerful and dramatic. It works brilliantly for dogs walking toward the camera, cats sitting on furniture looking down, or any "majestic moment." Accounts that use this angle regularly see 30-50% higher save rates on those clips.
Overhead / Bird's Eye
Film directly above your pet. This angle works best for eating videos, sleeping positions, and trick performances where you need to show the full body. Use it sparingly because it removes the eye-to-eye connection that drives engagement on most pet content.
Tracking / Follow Shot
Move alongside your pet as they walk, run, or explore. Hold your phone steady at their level and walk with them. This creates dynamic, cinematic footage that holds viewer attention. Slow-motion tracking shots of dogs running are some of the most shared pet clips on TikTok.
Understanding how TikTok's algorithm works helps you see why camera angles matter so much. The algorithm measures watch time, and eye-level footage holds attention significantly longer than flat overhead shots.
Lighting Setup for Indoor and Outdoor Filming
Lighting is the most underrated factor in pet video quality. A well-lit video shot on a budget phone will outperform a poorly-lit video from the newest smartphone every time. TikTok's compression algorithm is harsh on dark footage, making it grainy and unappealing.
The golden rule? Face your pet toward the light source. Whether that's a window, a ring light, or the sun, the light should hit your pet's face directly, not come from behind them.
Indoor Lighting Tips
- Window Light Method — Position your pet 2-3 feet from a large window. The light should face them, not come from behind. Morning and late afternoon give the softest, most flattering light. This one technique alone will transform your footage.
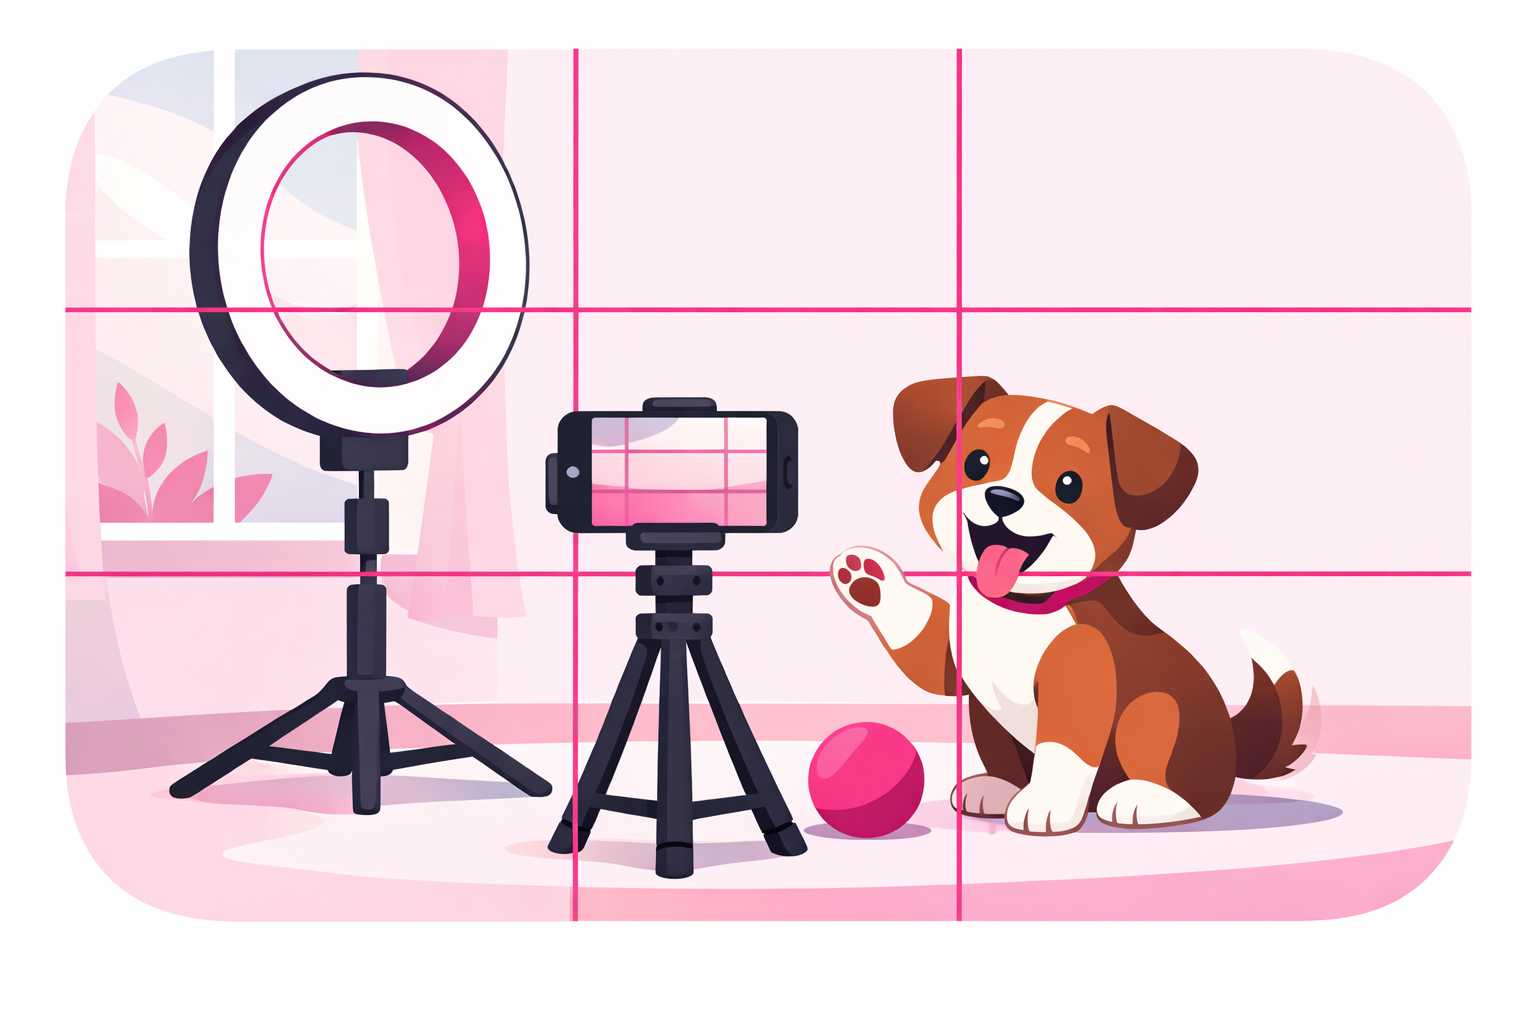
- Ring Light Setup — Place a ring light at your pet's eye level, about 3-4 feet away. The circular catchlights in their eyes create an adorable, professional look. Set the light to warm tone (3500-4000K) for a cozy feel.
- Avoid Overhead Lights — Ceiling fixtures create harsh shadows under your pet's chin and eyes. If ceiling lights are your only option, bounce the light off a white surface (a poster board works) to soften it.
- LED Panel Trick — A small LED panel ($20-40) placed at a 45-degree angle from your pet provides consistent, adjustable light. This is especially helpful for evening filming sessions.
Outdoor Lighting Tips
- Golden Hour Filming — The hour after sunrise and before sunset produces warm, golden light that makes every pet look stunning. This is when top pet accounts film their most beautiful content.
- Overcast Days Are Your Friend — Cloud cover acts like a giant softbox, creating even, shadow-free lighting. Overcast days are actually better for filming than bright sun, which causes squinting and harsh shadows.
- Shade Technique — On sunny days, move into open shade (under a tree canopy or building overhang). Your pet gets bright, even light without the harshness of direct sun.
If you want to dive deeper into visual best practices, our TikTok creative best practices guide covers composition and visual storytelling principles that apply to all content types.
Getting Your Pet to Cooperate on Camera
Here's the reality every pet creator faces: animals do not care about your content schedule. The trick is not forcing your pet to perform. It's setting up situations where great moments happen naturally.
We call this The Ready-Camera Method™. Instead of waiting for something cute to happen and scrambling for your phone, you create the conditions for great content and have your camera rolling before the action starts.
The Ready-Camera Method™ in Practice
For Dogs
- • Set up your camera before opening the treat bag, not after
- • Film at their peak energy: right after a nap or before mealtime
- • Use a "stay" command and hold a treat above the camera lens for eye contact
- • Record continuously for 3-5 minutes and clip the best 15 seconds later
For Cats
- • Know your cat's daily patterns and have your camera ready at those times
- • Use a wand toy or laser pointer to guide them into frame
- • Place treats or catnip on a specific spot where your camera is already aimed
- • Set up time-lapses during nap spots for effortless sleeping content
For Small Animals (Birds, Hamsters, Rabbits)
- • Use an enclosed play area and position the camera at the edge
- • Place food or toys in front of the camera to draw them into frame
- • Film their habitat activities on a tripod (no need to hold the phone)
- • Use macro mode for close-up detail shots of tiny paws and faces
The most important mindset shift is accepting that you will film 10 minutes of footage to get 30 seconds of usable content. That ratio is completely normal. Professional pet creators plan for it, and so should you.
Audio Strategy for Pet Content
Audio can make or break a pet video on TikTok. The right sound transforms a decent clip into a viral one. Here is how to think about audio for every type of pet content you create.
Audio Options Ranked by Impact
1. Trending Audio (Highest Viral Potential)
Using a currently trending sound dramatically increases your discoverability. TikTok pushes content that uses popular audio to more For You Pages. Save trending audios as you scroll your feed, then match them to your pet footage within 24-48 hours.
2. Original Audio (Best for Branding)
Natural sounds of your pet (barking, purring, crunching treats) paired with your voice narration build a recognizable brand. If your original audio goes viral, others will duet and stitch it, multiplying your reach.
3. Voiceover Narration (Best for Storytelling)
Record a voiceover explaining what your pet is doing or thinking. This format is massive in the pet niche. Some creators give their pets funny personalities through voiceover, creating series that keep viewers coming back.
4. Music Only (Best for Aesthetic Content)
Cinematic pet footage paired with emotional or upbeat music works well for montages, compilations, and beautiful outdoor shots. Use TikTok's built-in music library to avoid copyright issues.
Pro tip: Always record with original audio enabled, even if you plan to add music later. Natural pet sounds (especially crunchy eating sounds, purring, or excited whining) perform extremely well as ASMR-style content.
For more ideas on what to film with these audio strategies, check out our 50+ TikTok pet content ideas guide.
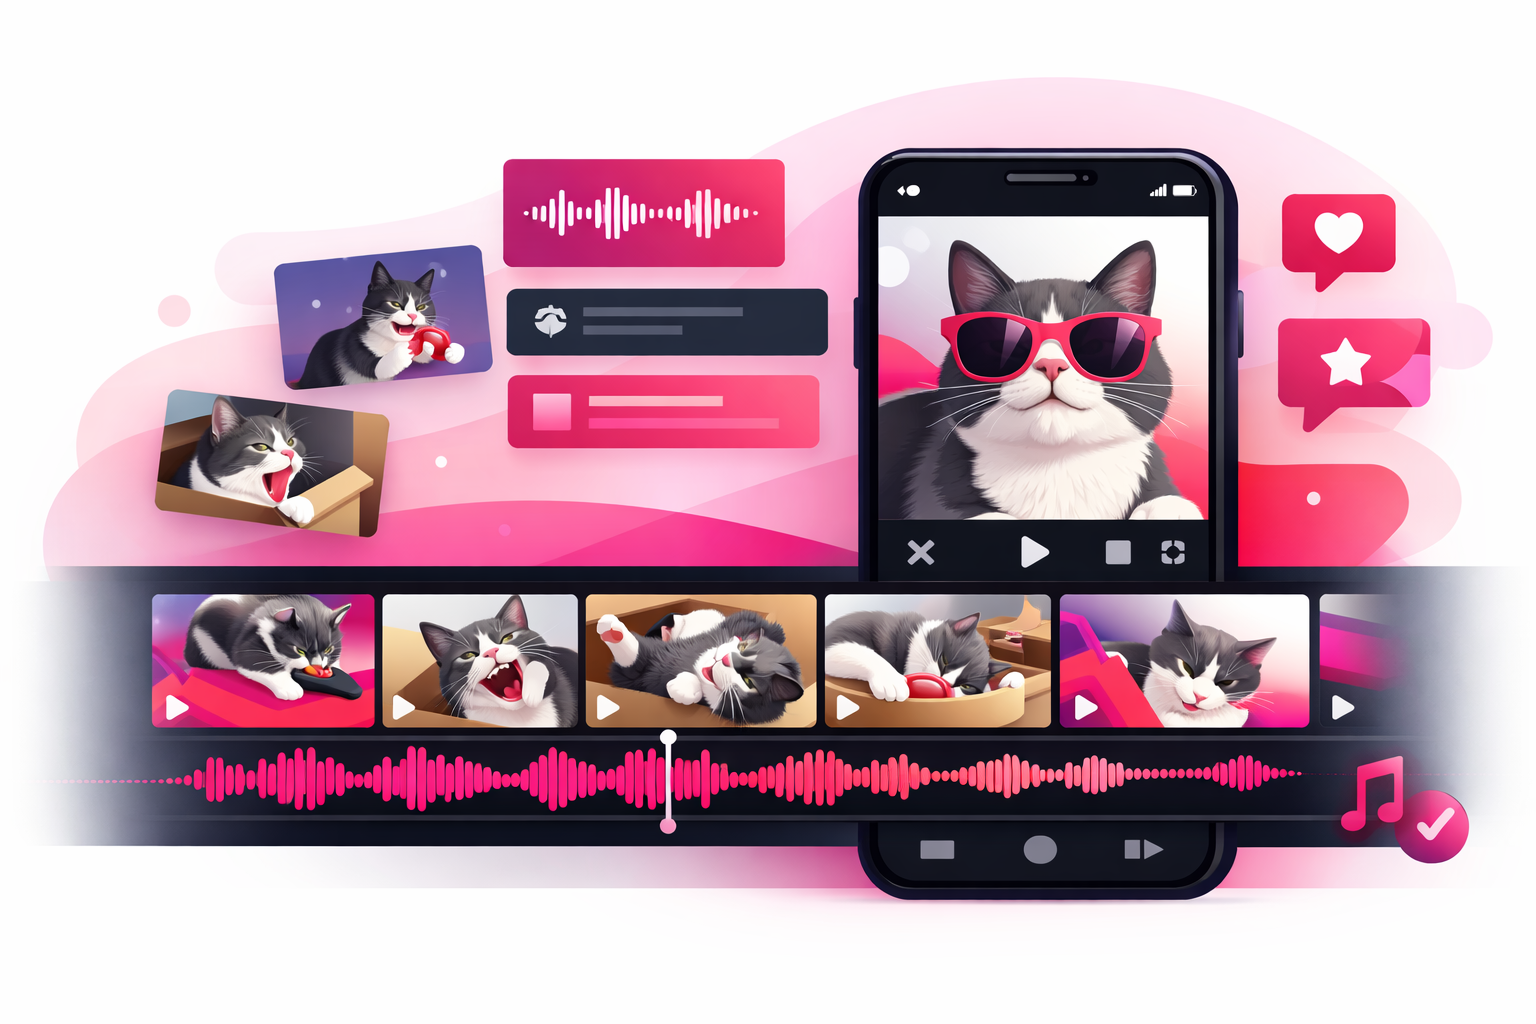
Editing Your Pet Videos for Maximum Impact
Raw footage is never the final product. Even a 15-second pet video benefits from basic editing. The goal is to trim the boring parts and keep only the moments that make people react.
The 5-Step Pet Video Edit
- 1. Cut the First 2 Seconds — Most raw footage starts with you pressing record and walking into position. Cut that immediately. Your video should start with the interesting part: your pet's face, the action, or the setup for the punchline.
- 2. Trim to the Tightest Version — If a moment can be shown in 5 seconds instead of 10, cut it to 5. Dead air (your pet wandering out of frame, you adjusting the camera) destroys retention. Every second should either entertain or build anticipation.
- 3. Add a Hook in the First Frame — Use a text overlay that creates curiosity: "Watch what happens when..." or "She does this every single time." Text hooks increase watch-through rates by up to 45%.
- 4. Layer Your Audio — Add trending audio, music, or voiceover. Adjust the volume so the music supports the content without drowning out important sounds like barking, meowing, or your narration.
- 5. End Before They Want You To — The ideal ending leaves viewers wanting more. Cut the video at the peak moment rather than letting it trail off. This drives replays (a key algorithm signal) and comments asking "what happened next?"
Editing Apps Worth Using
- TikTok's Built-in Editor — Perfectly fine for 90% of pet content. Auto-captions, filters, and trending audio are all built in.
- CapCut — Made by TikTok's parent company. Better for multi-clip edits, speed ramps, and advanced transitions. Free with no watermarks.
- InShot — Great for quick trims, adding music, and adjusting aspect ratios. Simple interface for beginners.
Filming Techniques by Content Type
Different types of pet content require different filming approaches. Here's how to adjust your technique based on what you're creating.
Reaction Videos
- • Set up camera first, then introduce the stimulus
- • Film at eye level for maximum emotional impact
- • Use slow-motion for dramatic reactions
- • Capture the full sequence: calm → stimulus → reaction
Funny Moments
- • Keep your phone recording during play sessions
- • Wide angle captures unexpected behavior better
- • Record with original audio (natural sounds add comedy)
- • Repetition sells: film the same gag multiple times
Training Tutorials
- • Use a tripod so both hands are free for training
- • Film wide enough to show full body position
- • Add text overlays for each step
- • Include the fails alongside the success
Day-in-the-Life
- • Film 3-5 second clips throughout the entire day
- • Use natural lighting changes to show time passing
- • Add voiceover narration to tie clips together
- • Time-lapse napping or eating for satisfying segments
Building a full pet creator strategy means mixing these content types across your posting schedule. Variety keeps your audience engaged and gives the algorithm multiple signals about who should see your content.
Essential Gear (Without Breaking the Bank)
You do not need to spend hundreds of dollars to film great pet content. Here's the only gear that actually makes a noticeable difference, ranked by impact per dollar spent.
Low Tripod ($15-30)
This is the single best investment for pet filming. A tripod that sits 6-18 inches off the ground gets you at pet eye level without lying on the floor. Look for flexible or adjustable models. This alone will double the quality of your footage.
Ring Light ($20-40)
For indoor filming, a ring light provides soft, even illumination and creates those adorable circular reflections in your pet's eyes. Get one with adjustable color temperature and brightness.
Phone Lens Attachment ($15-25)
A wide-angle clip-on lens lets you capture more of the scene without backing up. Useful for small spaces or when your pet moves around unpredictably. A macro lens is great for close-up detail shots of noses, paws, and eyes.
Everything Else (Skip for Now)
Gimbals, external microphones, backdrop stands, and professional cameras are nice-to-haves but will not meaningfully improve your pet TikTok content. Master the basics with the gear above before spending more.
The total investment? Under $75. That's less than most people spend on a single pet toy, and it will dramatically improve every video you create from this point forward.
Common Filming Mistakes to Avoid
Even experienced pet creators fall into these traps. Avoiding them puts you ahead of 90% of accounts in the pet niche.
Filming Against a Window
When the light source is behind your pet, your camera exposes for the bright background and your pet becomes a dark silhouette. Always have the light facing your pet, not behind them.
Shaky Handheld Footage
Shaky video screams amateur. Use a tripod, prop your phone against a stable object, or brace your elbows against your body to stabilize. TikTok's built-in stabilization helps, but starting with steady footage is always better.
Cluttered Backgrounds
Dirty laundry, messy counters, and random items distract from your pet. Move clutter out of frame or film against a clean wall. A simple background keeps all attention on the star of the video.
Zooming In Instead of Moving Closer
Digital zoom degrades video quality. Instead of pinching to zoom, physically move your camera closer to your pet. The footage will be sharper and more detailed.
Posting Without Trimming
Raw, unedited footage with dead space at the start and end kills watch time. Even 5 seconds of trimming can double your completion rate. Always edit before posting.
Ignoring Vertical Format
TikTok is a vertical-first platform. Always film in portrait mode (9:16 aspect ratio). Horizontal videos leave black bars above and below, wasting screen space and reducing visual impact.
Learning from mistakes is part of the process. If you want to understand what makes content succeed on TikTok at a deeper level, our complete algorithm guide explains exactly how the platform decides which videos to push.
Great Filming + Strategic Promotion = Explosive Growth
Now that you know how to create high-quality pet videos, the next step is getting them in front of the right audience. Viryze's TikTok promotion service helps pet creators reach targeted audiences of animal lovers who are likely to follow and engage with your content.
Combine professional filming techniques with strategic TikTok advertising to accelerate your pet account's growth and reach your first 10K, 50K, or 100K followers faster.
Frequently Asked Questions
What camera settings should I use for pet TikTok videos?
Film in 1080p at 30fps minimum for standard videos. Use 60fps or 120fps for slow-motion action shots. Enable grid lines for composition, lock your autofocus on your pet, and shoot in well-lit conditions. Most smartphones handle pet video well without manual camera apps.
How do I keep my pet still while filming TikTok videos?
Use high-value treats held just above the camera lens to keep their attention. Film after exercise when your pet is calmer. For dogs, teach a "stay" or "place" command specifically for filming sessions. For cats, use a toy or treat to lure them into your desired spot. Plan for 20 minutes of filming to get 30 seconds of usable footage.
Do I need expensive equipment to film pet TikTok videos?
No. A modern smartphone is all you need to start. The most impactful upgrade is a $15-30 low tripod that gets your camera at pet eye level. A ring light ($20-40) helps with indoor filming. Good lighting and creative angles matter far more than expensive gear.
What is the best video length for pet TikTok videos?
The sweet spot for pet videos is 15-45 seconds. Short, punchy clips of 7-15 seconds work well for reaction videos and funny moments. Tutorial or transformation content can run 30-60 seconds. Anything over 60 seconds needs a strong hook and narrative to maintain viewer retention.
How do I get good lighting for indoor pet videos?
Position your pet facing a large window for soft, natural light. Film during the golden hours: morning or late afternoon when sunlight is warm and diffused. Avoid overhead ceiling lights that create harsh shadows. If natural light is limited, a ring light or LED panel placed at a 45-degree angle provides even, flattering illumination.
Continue Reading

Head of Creator Success at Viryze
TikTok growth strategist helping creators reach their first 100K followers through data-driven promotion strategies.